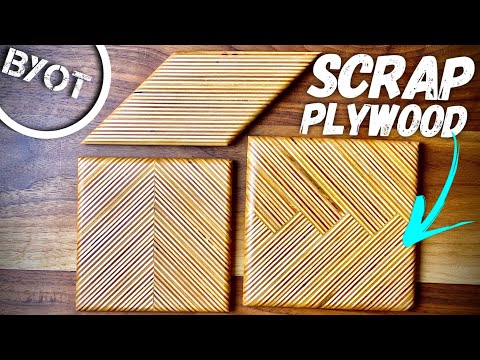
5 Scrap Wood Projects for DIYers
Finding a purpose for those leftover pieces of wood can be both satisfying and creative. Whether you’ve just finished a major woodworking project or simply accumulated a stash of wood scraps over time, there’s always the potential to craft something beautiful and useful. Today, we’ll explore how you can turn those wood remnants into charming and functional home items. From coasters to floating shelves, here are 5 scrap wood projects for everyone, regardless of skill level.
5 Scrap Wood Projects You Can DIY
Working with wood scraps not only helps reduce waste but also challenges you to think outside the box. It’s an opportunity to develop new skills and create personalized pieces that add a unique touch to your space. Plus, there’s a special kind of pride in knowing you crafted something with your own hands.
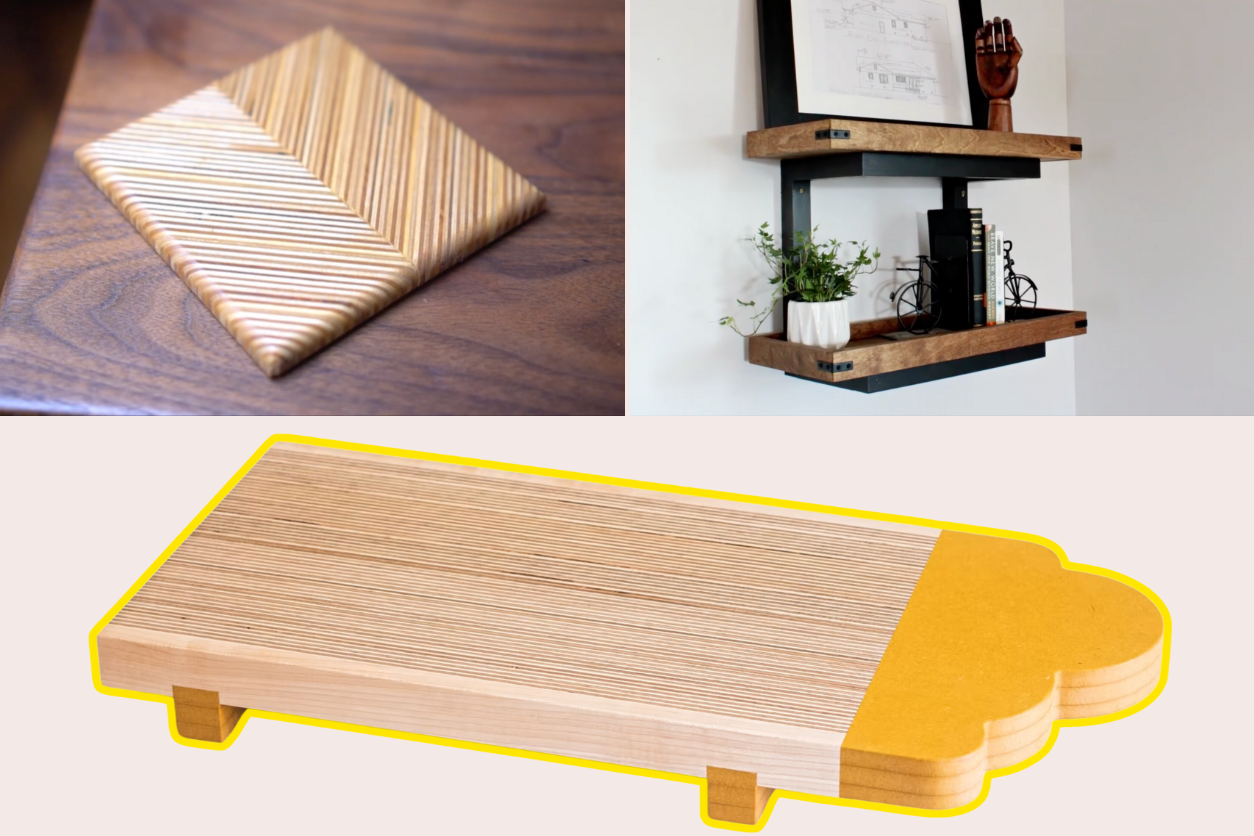
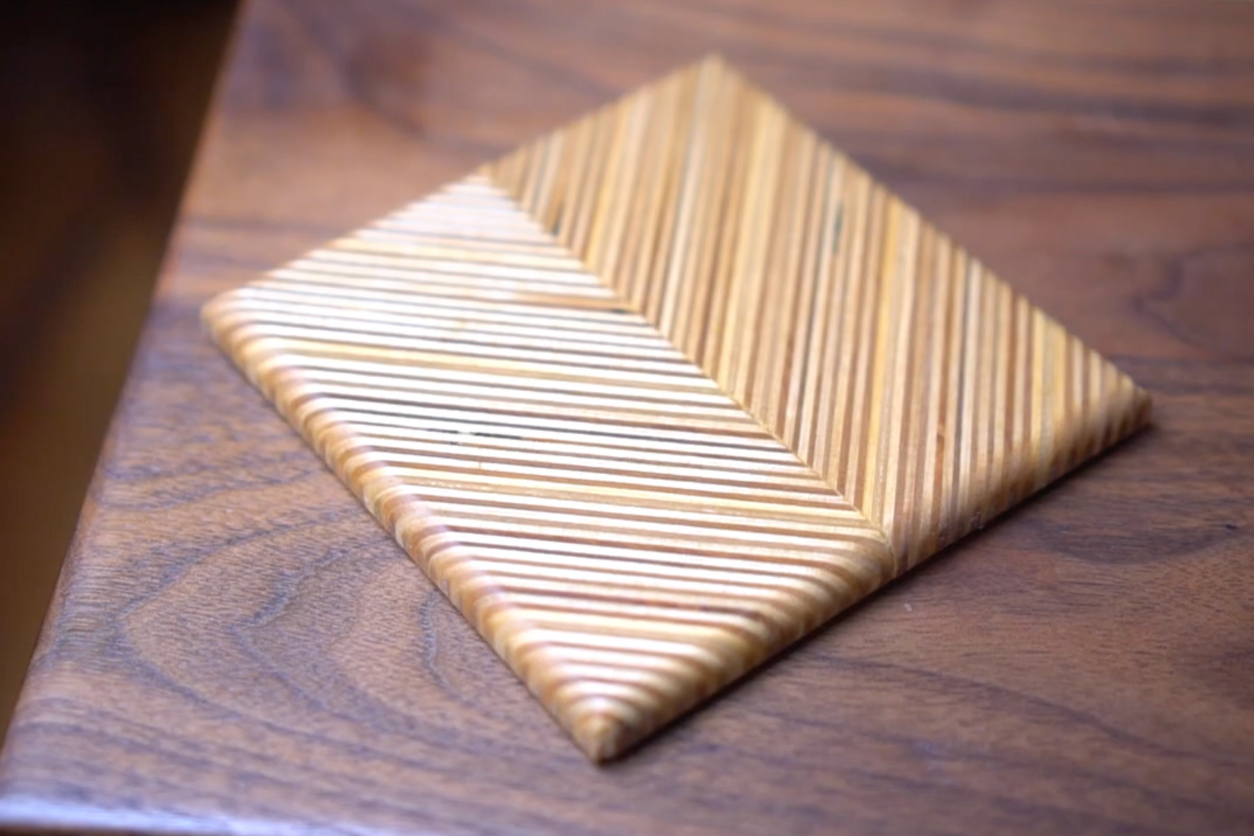
Rustic Wooden Coasters
Creating wooden coasters is one of my favorite scrap wood projects. Not only are they practical, but they also bring a rustic charm to your home. To start, select wood pieces that are relatively flat and free of major imperfections. Consider using different types of wood to achieve a varied look.
How to Make It
- Select Your Wood: Choose hardwood scraps like oak, maple, or walnut for durability. Each coaster will require a piece approximately 4×4 inches.
- Cut the Wood: Using a miter saw or circular saw, cut the wood into uniform squares or circles, aiming for dimensions around 4×4 inches or a 4-inch diameter for circles. For a rounded edge, use a router with a round-over bit.
- Smooth the Edges: Use a coarse grit sandpaper (80-120 grit) on a sander to smooth out the edges and surfaces. Follow with finer grit sandpaper (180-220 grit) for a polished finish, ensuring there are no splinters.
- Design and Detail (Optional): If you want to add a design, use a wood-burning tool to etch patterns or initials onto the surface. Ensure the design is clean and consistent across all coasters.
- Apply Finish: You can leave the wood natural for a rustic look or apply a wood stain of your choice. After staining, apply a coat of polyurethane or a water-resistant sealant to protect the coasters from moisture and heat. Allow the finish to dry completely between coats.
- Add Non-Slip Feet: For added protection and grip, attach small rubber or felt pads to the underside of each coaster.
These coasters make for excellent gifts or a lovely addition to your living space, providing a handmade touch to your decor.
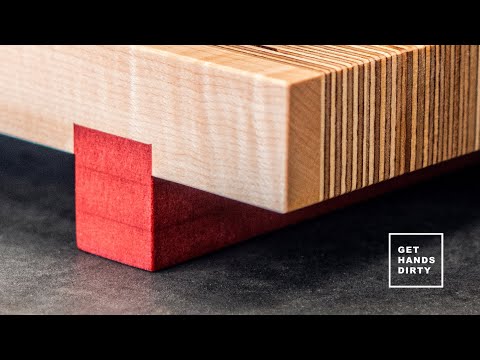
DIY Charcuterie Boards
Charcuterie boards are not only functional for serving but can also be a statement piece in your kitchen. Crafting your own from wood scraps allows you to customize the size and shape to your liking.

How to Make It
- Select and Prepare Wood: Choose a hardwood piece, such as maple or walnut, for a sturdy board. The ideal size is around 12×18 inches, with a thickness of 1 inch.
- Cut to Size: Using a table saw or circular saw, cut the board to your desired dimensions. For a more rustic look, consider an irregular shape.
- Create a Handle (Optional): If you’d like a handle, trace a simple shape at one end of the board. Use a jigsaw to carefully cut out the handle. Sand the edges of the handle to ensure a comfortable grip.
- Sand the Board: Start with 80-grit sandpaper and progress to 220-grit to achieve a smooth surface, paying special attention to the edges and corners to remove any sharp areas.
- Add Juice Groove (Optional): For added functionality, you can add a juice groove around the perimeter using a router with a cove bit.
- Condition the Board: Apply a generous coat of food-safe mineral oil or beeswax. Allow it to soak in for several hours or overnight, then wipe away any excess. Repeat this process two to three times to ensure the board is well-sealed.
Handcrafted charcuterie boards are perfect for entertaining and add a touch of elegance to any gathering.
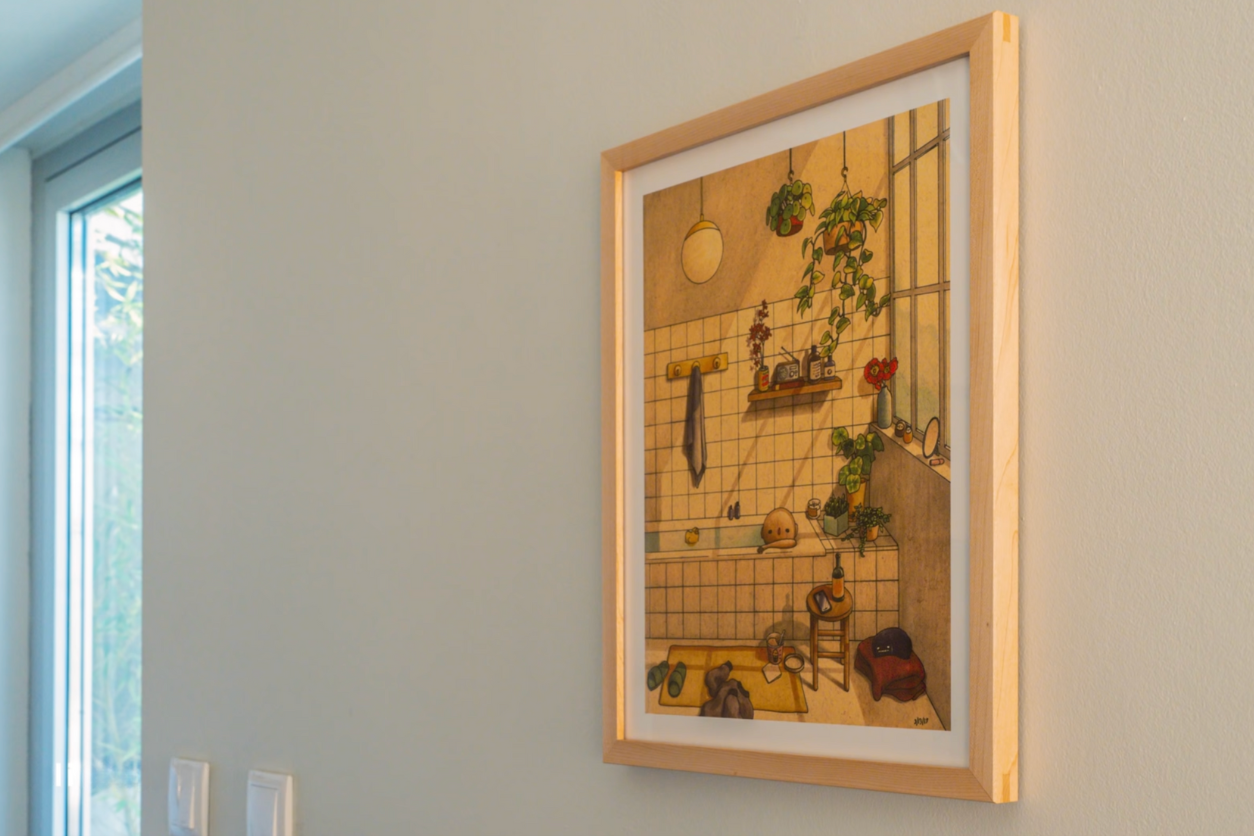
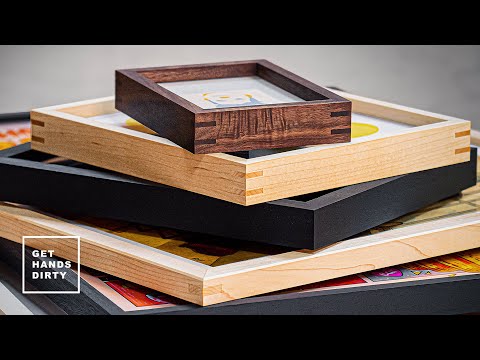
Personalized Photo Frames
Turn those small wood pieces into personalized photo frames that add a homey touch to any room. This project can be as simple or intricate as you like, making it a great option for various skill levels.
How to Make It
- Measure and Cut: Determine the size of the frame you want to make. For a standard 4×6 photo, cut four wood pieces: two pieces 4 inches long and two pieces 6 inches long. The width of the frame pieces should be at least 1 inch.
- Miter the Corners: Cut each end of the wood pieces at a 45-degree angle using a miter saw, ensuring they fit together to form a perfect rectangle.
- Assemble the Frame: Apply wood glue to the mitered corners and join the pieces together. Use clamps to hold the frame in place while the glue dries. Check for squareness by measuring the diagonals; they should be equal.
- Reinforce the Joints: For added strength, use v-nails or splines at the corners. You can also use a corner clamp during drying to ensure stability.
- Add a Backing: Cut a piece of thin plywood or cardboard to fit snugly inside the frame. This will serve as backing for your photo. Secure it with small nails or frame clips.
- Finish the Frame: Sand the entire frame with 220-grit sandpaper. Paint, stain, or leave it natural, depending on your preference. If painting, apply a primer first for a smooth finish.
- Attach Hardware: Install a hanging bracket or a stand at the back of the frame, depending on how you plan to display it.
These frames make for thoughtful gifts and can be customized with different finishes to match any decor style.
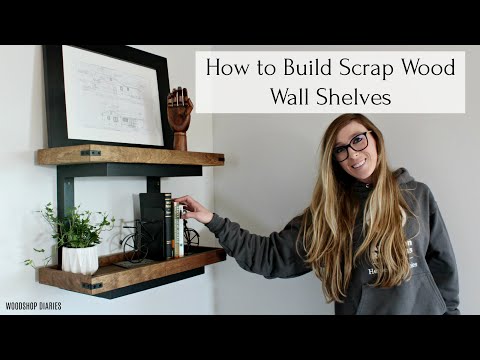
Functional Floating Shelves
Floating shelves are a stylish way to add storage and display space to your home. With some sturdy wood scraps, you can create sleek, modern shelves that appear to “float” without visible supports.

How to Make It
- Determine the Size: Choose wood pieces at least 1 inch thick for stability. Cut to the desired length and width, typically around 24 inches long and 6 inches wide for a standard shelf.
- Create Internal Brackets: Cut two additional wood strips, each 1 inch wide and slightly shorter than the width of the shelf, to act as internal supports.
- Assemble the Bracket: Attach the bracket pieces to the wall studs using 3-inch wood screws, ensuring they are level. The brackets should be evenly spaced to support the shelf securely.
- Attach the Shelf: Slide the shelf over the brackets and secure it from above with screws, driving them down into the brackets. Ensure that the shelf sits flush against the wall.
- Finish the Shelf: Sand the surface with 220-grit sandpaper and apply a finish of your choice, such as stain, paint, or a clear wood sealant.
Floating shelves are versatile and can be used in any room to display books, plants, or decorative items.
Related: How to DIY a Fluted Cabinet
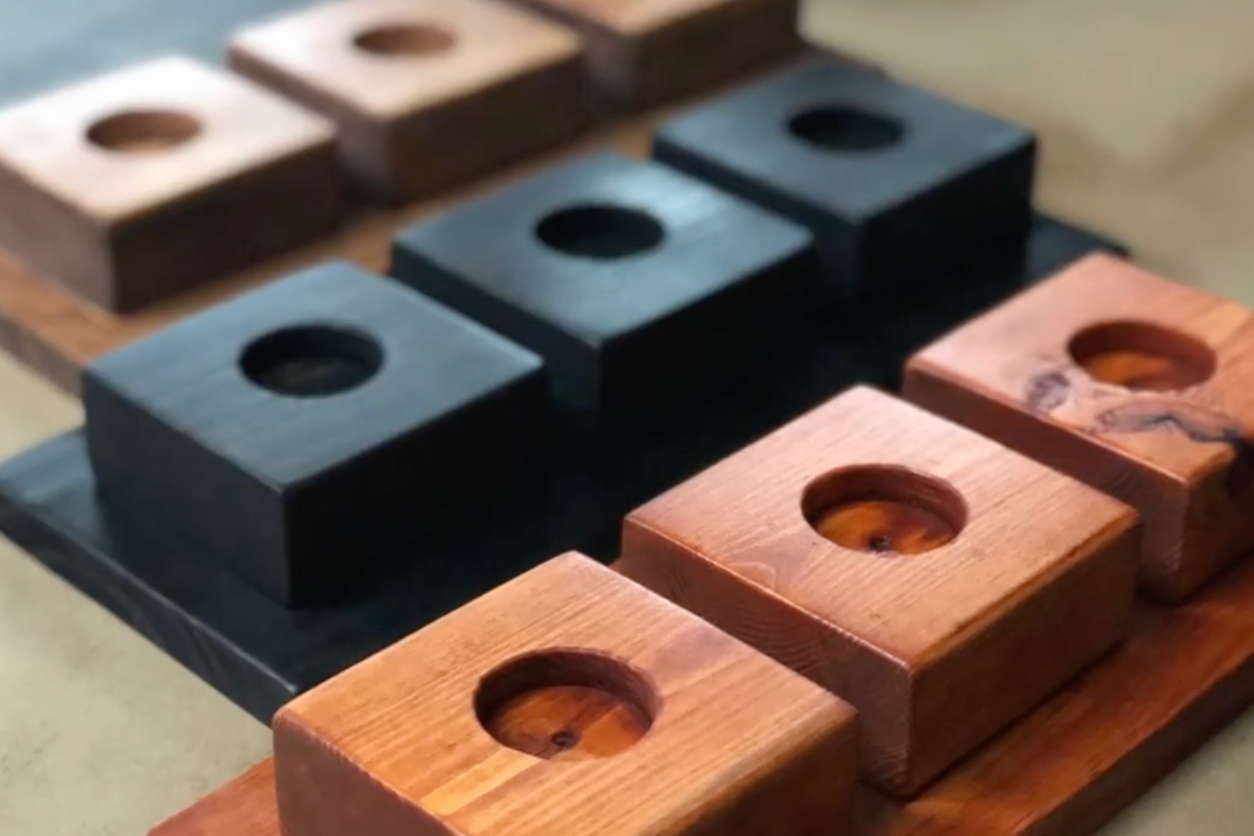
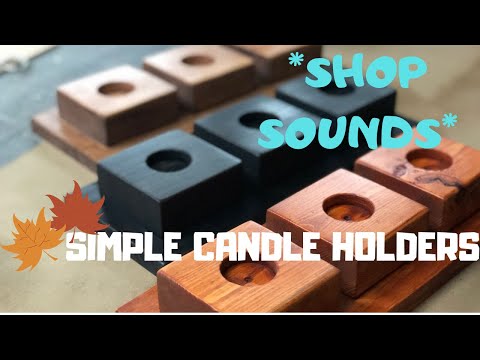
Elegant Candle Holders
A beautiful candle holder can add warmth and ambiance to your home. With some creative woodworking, you can craft holders that suit any style.
How to Make It
- Choose the Wood: Select wood pieces at least 2 inches thick for stability. Cut into blocks or cylinders, aiming for dimensions around 4x4x2 inches for small holders or 6x6x2 inches for larger ones.
- Drill the Holes: Use a drill press or a hand drill with a hole saw bit to create candle wells in the center of each piece. The diameter should match the base of your candles, typically around 1 inch, and the depth should be about half an inch.
- Smooth the Edges: Sand the entire piece thoroughly, starting with 80-grit sandpaper and progressing to 220-grit for a smooth finish.
- Add Decorative Elements: If desired, use a router to add decorative grooves or edges. You can also paint or stain the wood to match your decor.
- Apply Finish: Use a wood finish like beeswax or polyurethane to protect the wood and enhance its natural beauty.
These candle holders make for lovely centerpieces or accents on a mantelpiece, adding a cozy touch to any setting.