Tiling With Spacers: A Beginner’s Guide to DIY Tiling
Embarking on a do-it-yourself (DIY) tiling project promises to revamp your living space with a touch of personal flair. Among the myriad considerations for a successful tile installation, the often-overlooked heroes are the spacers. In this beginner’s guide, we delve into the essential role of spacers in achieving a professional finish and guide you through the art of tiling with precision.
Whether transforming a kitchen backsplash or reimagining a bathroom floor, understanding the significance of spacers is key to creating seamless grout lines and a polished aesthetic. Join us as we demystify the world of tiling, making your DIY endeavor a rewarding and visually stunning experience.
The Role of Spacers
Spacers are small, often cross-shaped, plastic tools crucial in maintaining consistent gaps between tiles during installation. These gaps, known as grout lines, not only contribute to the aesthetic appeal of the tiled surface but also accommodate the slight variations in tile size and ensure a uniform look.
Why Use Spacers?
Ensures Even Alignment
Spacers help maintain equal spacing between tiles, preventing them from shifting or moving during installation. This ensures that your finished project has a clean, professional appearance.
Facilitates Grout Application
The gaps created by spacers serve as channels for grout application. Grout not only enhances the visual appeal of your tiled surface but also helps protect the tiles’ edges and prevent moisture penetration.
Compensates for Size Discrepancies
Tiles can vary slightly in size, even when they come from the same batch. Spacers help compensate for these variations, ensuring a cohesive and visually pleasing result.
Getting Started
Gather Your Tools and Materials
Before you begin tiling, ensure you have all the necessary tools and materials, including tiles, adhesive, grout, a notched trowel, a tile cutter, a laser level, and spacers. Spacers are available in various sizes, so choose the ones corresponding to your desired grout line width.
Prepare the Surface
Ensure that the surface you’re tiling is clean, smooth, and free of any debris. Use a patching compound to fill imperfections and create a level substrate for the tiles if necessary.
Layout and Marking
Plan your tile layout, starting from the center and working outward. Mark reference lines with a straightedge and pencil to guide your tile placement. This step is crucial for achieving a symmetrical and visually appealing result.
The Tiling Process
Apply the Adhesive
Use a notched trowel to apply a thin, even layer of tile adhesive to the substrate. Work in small sections to prevent the adhesive from drying before placing the tiles.
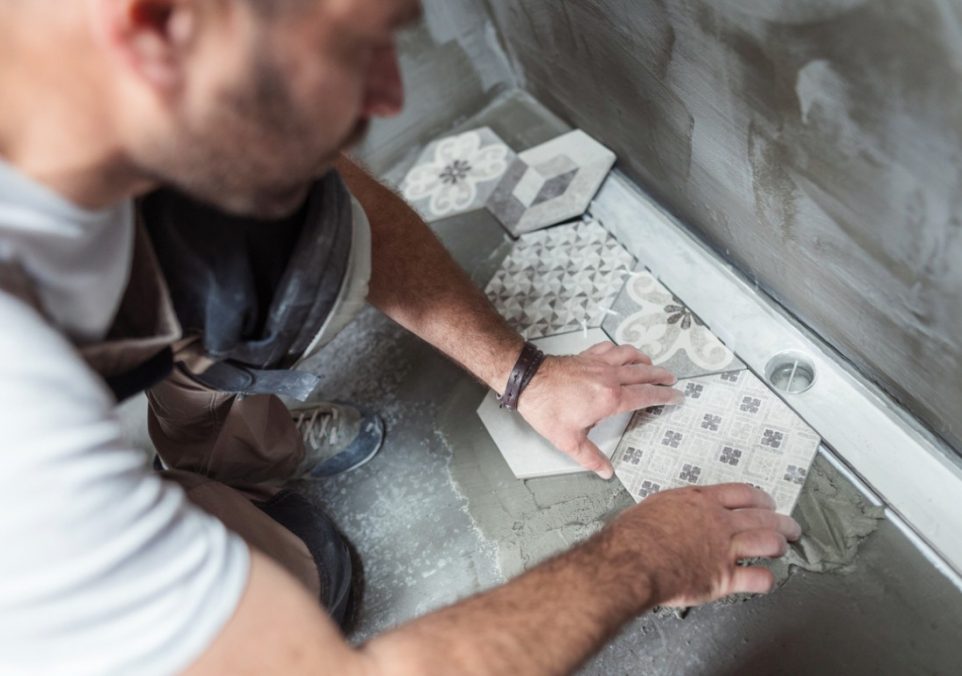
Place Tiles With Spacers
Press each tile into the adhesive, using the marked reference lines to guide your placement. Insert spacers at each corner of the tile to create uniform gaps. Continue this process, working your way outward from the center.
Check for Level
Use a laser level to ensure your tiles are level and aligned. Adjust the placement of tiles as needed, adding or removing adhesive if necessary.
Let the Adhesive Set
Allow the adhesive to set for the recommended time before removing the spacers. This typically ranges from 24 to 48 hours, depending on the type of adhesive used.
Grouting
Mix the Grout
Follow the manufacturer’s instructions to mix the grout to the desired consistency. Choose a color that complements your tiles and enhances the overall aesthetic.
Apply the Grout
Spread the grout over the tiled surface using a rubber float, ensuring you completely fill the gaps. Work diagonally to prevent air bubbles and achieve thorough coverage.
Remove Excess Grout
Wipe away excess grout from the tile surface using a damp sponge before it dries. Rinse the sponge frequently to avoid smearing grout over the tiles.
Let the Grout Cure
Allow the grout to cure according to the manufacturer’s instructions. This usually takes a few days, so you should avoid putting weight on the tiled surface.
Conclusion
Tiling with spacers is fundamental in achieving a professional-looking and long-lasting tile installation. Even beginners can complete a DIY tiling project by paying attention to details and following these steps. As you gain confidence and experience, you may tackle more ambitious projects, transforming your living spaces one tile at a time. So, roll up your sleeves, gather your materials, and let the transformative journey of DIY tiling with spacers begin!