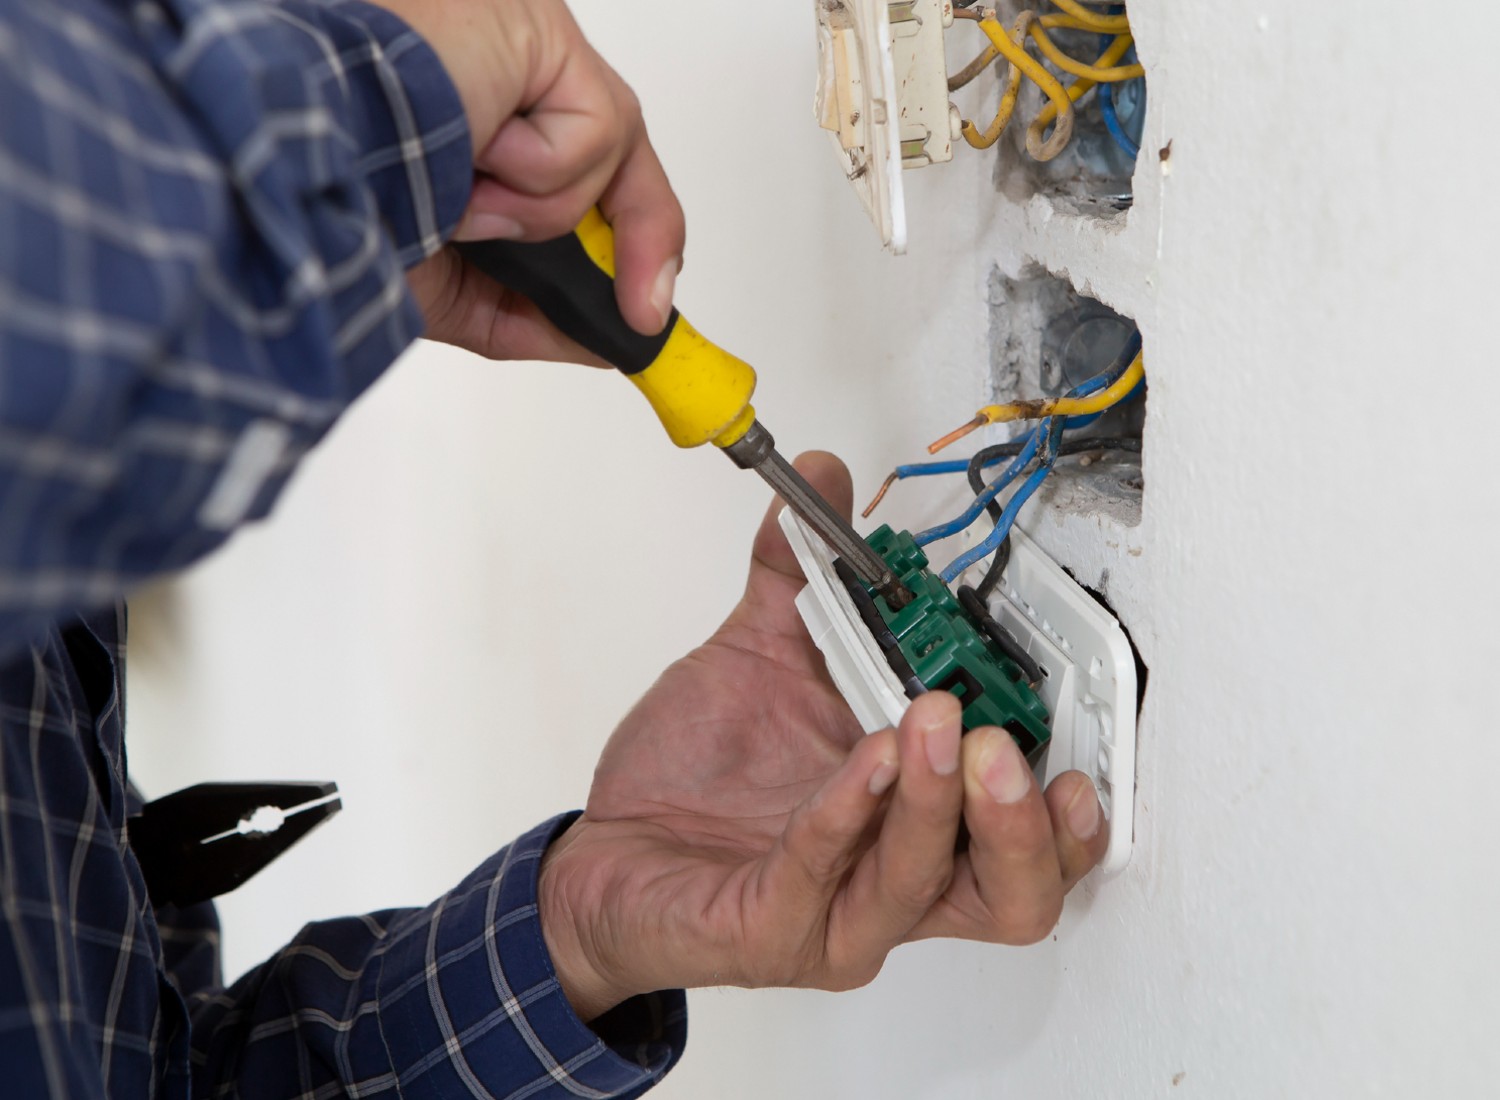
How to Wire a 3-Way Electrical Switch Like a Pro

Embarking on the journey of wiring a 3-way electrical switch need not be a source of anxiety for DIY enthusiasts. Mastering this fundamental skill can empower homeowners to confidently take control of their home’s electrical systems. Unlike single-pole switches, the 3-way switch system allows versatile lighting control in spaces with multiple entry points.
This step-by-step guide aims to demystify the process, providing clear instructions and insights to help you tackle the project like a seasoned professional. From understanding the basics to choosing the right materials, we’ll navigate through each step, ensuring a safe and efficient installation that elevates your home’s functionality. So, let’s dive into the intricacies of wiring and illuminate your path to becoming a proficient 3-way switch installer.
Understanding the Basics
Before delving into the wiring process, it’s crucial to comprehend the fundamentals of a 3-way switch system. Unlike a standard single-pole switch that controls one light fixture from a single location, a 3-way switch allows you to control the same light from two different locations. This is particularly useful in areas with multiple entry points, such as staircases or large rooms.
Materials and Tools
To tackle this project successfully, gather the necessary materials and tools:
- Two 3-way switches
- Electrical wire (14-3 or 12-3 gauge, depending on your circuit requirements)
- Wire cutter
- Needle-nose pliers
- Voltage tester
- Screwdriver
- Electrical tape
- Wire nuts
Step 1: Turn Off the Power
Safety should be your top priority. Begin by turning off the power at the circuit breaker or fuse box to ensure you’re working with a de-energized circuit. Use a voltage tester to double-check that the power is off before proceeding.
Step 2: Identify the Wiring
Examine the existing wiring in the electrical box to identify the wires you’ll be working with. Typically, you’ll find a black (hot) wire, a white (neutral) wire, and a red or black traveler wire. The traveler wire is essential for the 3-way switch configuration.
Step 3: Connect the Common Wire
Start by connecting the common wire, usually black, to the common terminal on the first 3-way switch. Tighten the screw securely to ensure a stable connection.
Step 4: Connect the Traveler Wires
Attach one of the traveler wires to the brass screw on the first switch and the other traveler wire to the brass screw on the second switch. These connections allow the switches to communicate and control the light.
Step 5: Connect the Ground Wires
Connect the ground wires (usually bare or green) to the green grounding screw on each switch. This ensures a safe path for any potential electrical faults.
Step 6: Connect the Neutral Wires
If your electrical box has a neutral wire, connect it to the silver screw on each switch. This step might not be necessary in all installations, as 3-way switches don’t always require a neutral connection.
Step 7: Mount the Switches
Carefully tuck the wires into the electrical box and mount the switches, ensuring they are level and securely attached. Follow the manufacturer’s instructions for your specific switch model.
Step 8: Test the Wiring
Turn the power back on and test the switches to ensure they function correctly. Check if you can control the light from both switch locations. If there are any issues, revisit the wiring connections and troubleshoot accordingly.
Final Thoughts
Wiring a 3-way electrical switch may seem intricate initially, but with a systematic approach and adherence to safety measures, it becomes an accessible DIY project. By following this guide and understanding the principles behind a 3-way switch system, you can confidently master the art of wiring, creating a seamless and efficient lighting control system in your home. Remember, if you ever feel uncertain or uncomfortable, consult a professional electrician to ensure the safety and compliance of your electrical installation.