How to Test a Capacitor
Capacitors are essential components in electronic circuits, storing electrical energy and releasing it as needed. Over time, capacitors can degrade or fail, leading to circuit malfunctions or complete failure. Testing a capacitor is a critical step in diagnosing and repairing electronic devices, ensuring that your circuit functions reliably. This guide will walk you through the steps and methods to safely and accurately test a capacitor.
Why Test a Capacitor?
Capacitors are subject to wear and tear due to voltage stress, heat, or prolonged use. A faulty capacitor can cause issues such as power supply failure, unstable performance, or even physical damage to other components. Testing a capacitor helps identify whether it is functioning correctly, ensuring that only healthy components remain in your circuit.
Safety First: Preparing to Test a Capacitor
Before testing a capacitor, it’s essential to take proper safety precautions. Capacitors can store a charge even after a device is powered off, potentially causing electric shock. Follow these steps to prepare:
- Power Down the Device: Ensure the device is turned off and unplugged from any power source.
- Discharge the Capacitor: Use a discharge tool or a resistor to safely release any stored energy from the capacitor. This is especially important for high-voltage capacitors, which can retain significant charge.
- Inspect the Capacitor: Look for visible signs of damage, such as bulging, leaking, or discoloration. A damaged capacitor is likely faulty and should be replaced.
Methods for Testing a Capacitor
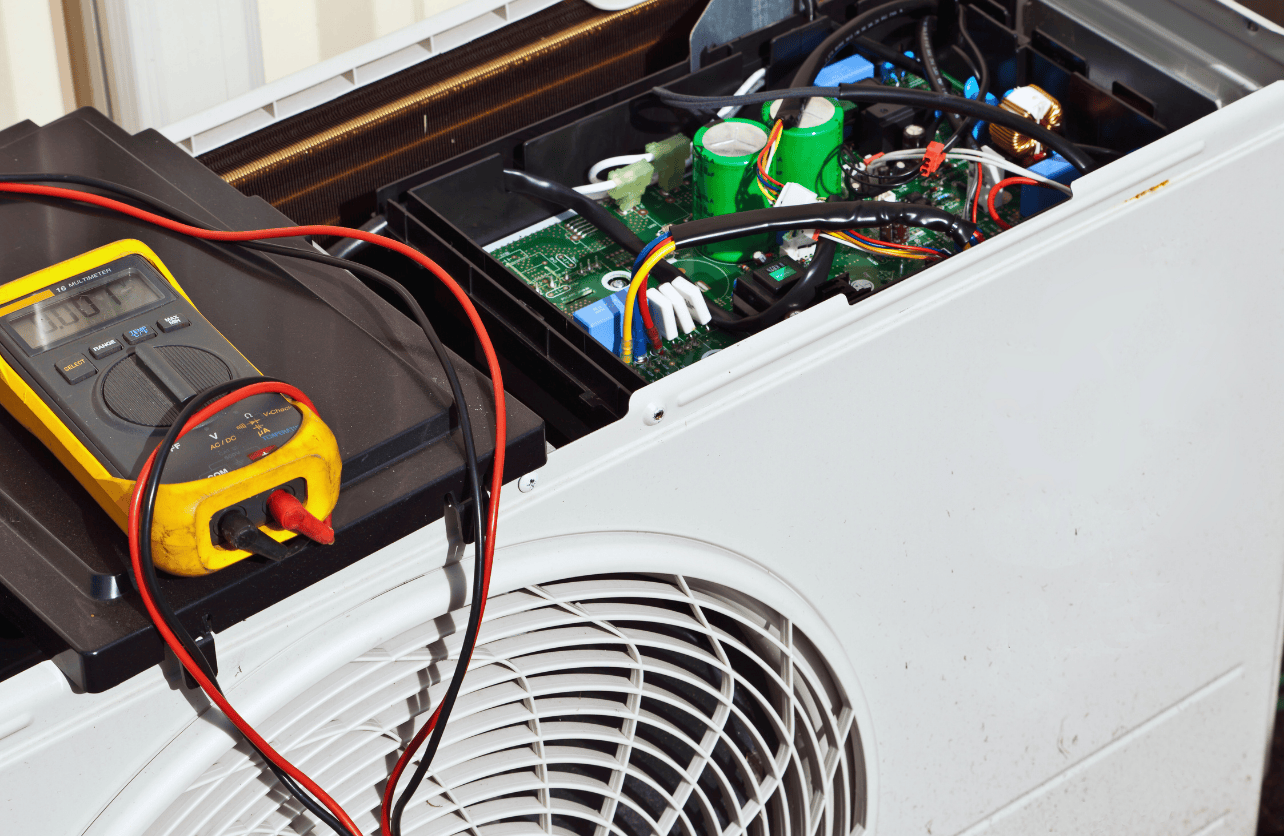
Using a Digital Multimeter with Capacitance Mode
A digital multimeter with a capacitance setting is one of the most accurate tools for testing capacitors:
- Set the Multimeter: Turn the dial to the capacitance mode, usually indicated by the symbol “F” for farads.
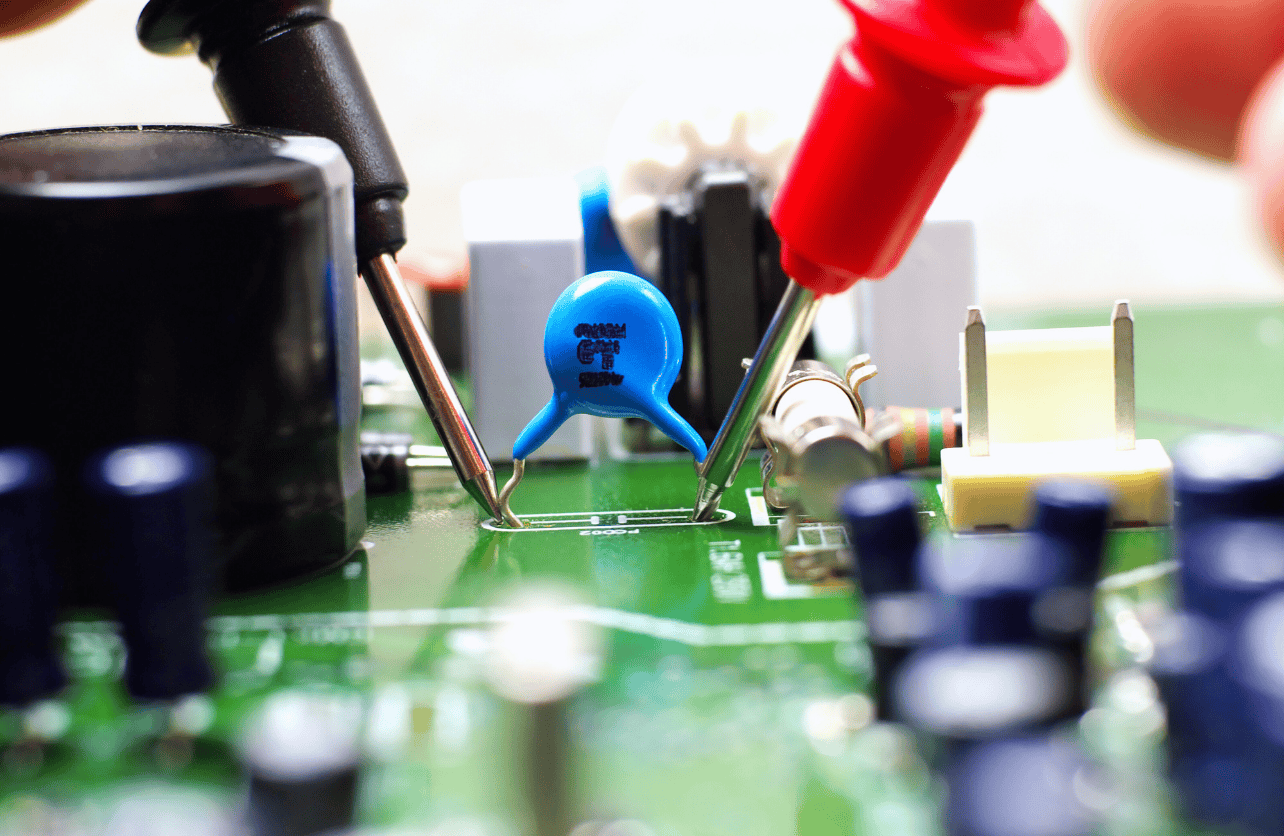
- Connect the Probes: Attach the red probe to the positive terminal and the black probe to the negative terminal of the capacitor.
- Read the Value: The multimeter will display the capacitance value in microfarads (μF). Compare this reading to the capacitor’s rated value printed on its casing. A variation of more than 10% typically indicates a faulty capacitor.
Using a Digital Multimeter Without Capacitance Mode
If your multimeter doesn’t have a capacitance mode, you can still test the capacitor using the resistance (ohms) setting:
- Set the Multimeter to Ohms (Ω): Choose a high resistance range on the multimeter.
- Attach the Probes: Connect the leads to the capacitor terminals.
- Observe the Reading: A good capacitor will show low resistance initially, which gradually increases to infinity as the capacitor charges. If the resistance remains low or shows no change, the capacitor is faulty.
Using an Analog Multimeter
Analog multimeters are also effective for testing capacitors, particularly for basic functionality checks:
- Set the Meter to Ohms (Ω): Use a high resistance range.
- Connect the Probes: Attach the positive and negative leads to the respective terminals.
- Watch the Needle Movement: The needle should move from zero (low resistance) to infinity (high resistance) as the capacitor charges. If the needle doesn’t move or stays fixed, the capacitor is likely damaged.
Using a Voltmeter
A voltmeter can test a capacitor’s ability to hold a charge:
- Charge the Capacitor: Apply a DC voltage lower than the capacitor’s rated voltage using a power supply.
- Disconnect the Power: Remove the power source.
- Measure the Voltage: Use the voltmeter to check the voltage across the capacitor terminals. A good capacitor will hold a charge close to the applied voltage, while a faulty capacitor will quickly lose its charge.
Using an ESR Meter
An Equivalent Series Resistance (ESR) meter measures the internal resistance of a capacitor, which increases with degradation:
- Connect the ESR Meter: Attach the probes to the capacitor terminals.
- Check the ESR Value: Compare the reading to standard values for the capacitor type and rating. A high ESR indicates that the capacitor is faulty.
Interpreting the Results
After testing, the results can indicate whether a capacitor is functional or needs replacement:
- Good Capacitor: Capacitance is within 10% of the rated value, and the component charges and discharges as expected.
- Faulty Capacitor: Shows significant deviation from the rated capacitance, high ESR, or inability to hold a charge. Physical damage such as bulging or leaks also indicates failure.
Tips for Accurate Testing
- Test at Room Temperature: Extreme temperatures can affect capacitance readings.
- In-Circuit Testing: Be cautious when testing capacitors still soldered in the circuit, as parallel components may affect readings. If possible, desolder the capacitor for more accurate results.
- Consult the Datasheet: Refer to the manufacturer’s specifications for acceptable tolerance and ESR values.