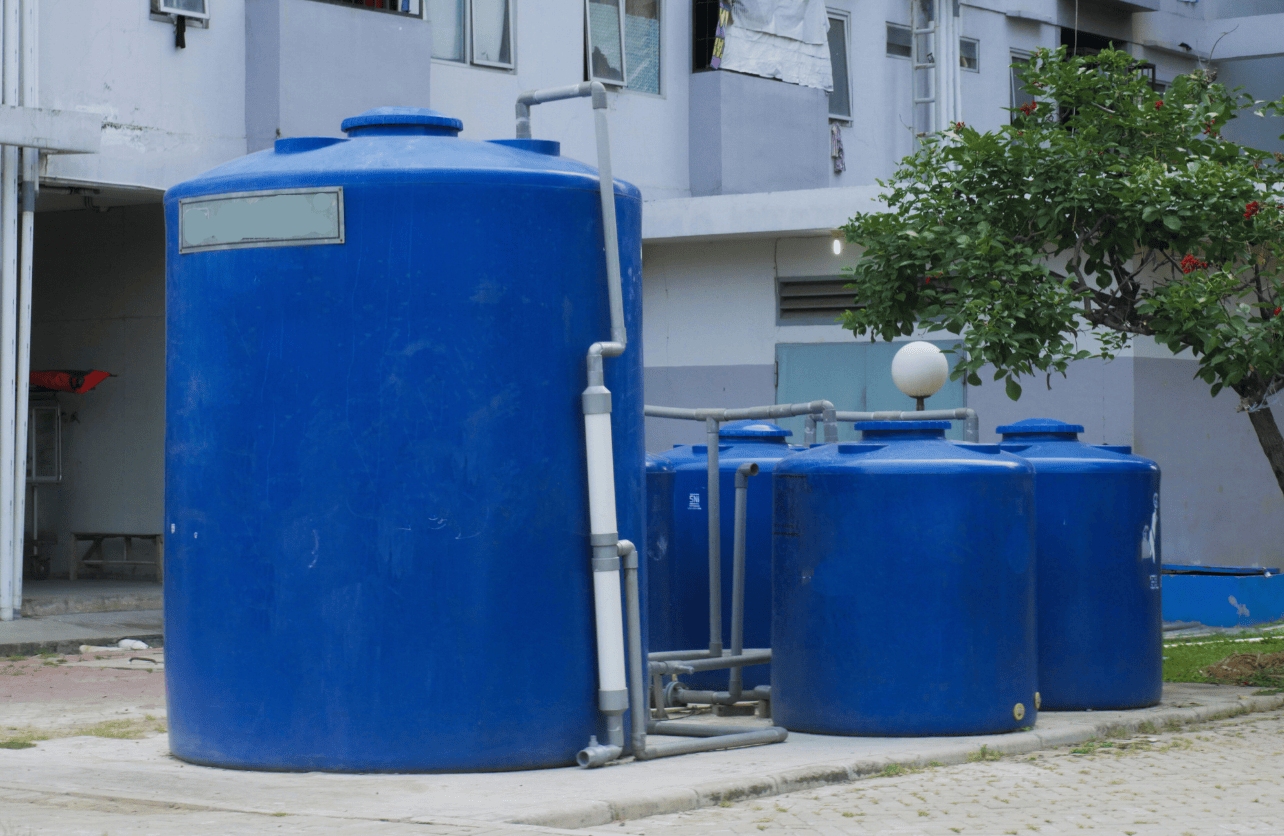
How to Prime a Well Water Tank

A well water system provides a reliable and independent water source, but like any mechanical setup, it requires occasional maintenance. One of the most crucial tasks is priming the well pump, which ensures water flows smoothly through the system. Whether you’ve recently installed a new pump, restarted your well after a dry period, or encountered air pockets that disrupted water flow, priming the pump is essential for restoring proper function.
If your well pump isn’t pulling water efficiently, it likely needs priming. This process removes air from the system, allowing it to create the necessary suction to draw water from the well. Here’s a comprehensive guide on how to prime a well water tank safely and effectively.
Why Does a Well Pump Need Priming?
Well pumps, particularly jet pumps, require water in their system to function correctly. These pumps rely on suction to draw water from underground, and when air gets trapped in the system, it disrupts the pressure needed to pull water. This often happens when:
- The system has been turned off for an extended period
- There is a leak allowing air into the pipes
- The water table has temporarily dropped, causing the pump to lose prime
- Maintenance work has required the system to be drained
If the pump runs but doesn’t deliver water, it likely needs to be primed to restore normal function.
Steps to Prime a Well Water Tank
1. Ensure Safety First
Before starting, turn off the electrical power supply to the well pump. This is crucial to prevent accidental electrocution or damage to the pump’s motor. Locate your circuit breaker and switch off the power to the pump system. If your system has a pressure switch, ensure it’s in the “off” position as well.
2. Locate the Priming Port
Most well pumps have a prime plug, usually found near the pressure gauge or at the top of the pump casing. If you’re unsure, consult your pump’s manual or check for a removable cap or plug designed for priming access.
Additionally, some systems have release valves that allow trapped air to escape during priming. If your system has these, opening them slightly will help the process.
3. Fill the Pump with Water
To create suction, the pump needs to be filled with water manually. You’ll need a clean water source, such as a bucket or garden hose connected to an external water supply. Slowly pour water into the priming port until it fills the pump housing completely.
Depending on the pump size and depth of the well, this may take several gallons of water. Make sure to pour steadily to prevent air bubbles from forming inside the system.
If your system has release valves, you may hear air escaping as the water fills the pipes. This is a good sign that air pockets are being displaced.
4. Seal the System
Once the pump housing is full, carefully replace the prime plug and tighten it securely to prevent leaks. If you opened any air release valves earlier, close them at this stage to maintain proper system pressure.
5. Restore Power and Test the Pump
Turn the power back on and observe the pump as it starts running. You should hear it engage and begin drawing water from the well. If priming was successful, water should begin flowing through the system within a few minutes.
Monitor the pressure gauge—if the pressure increases steadily, it’s a sign that the pump is working correctly. You may also hear the sound of water flowing through the pipes as the system pressurizes.
If the pump runs but doesn’t deliver water, turn it off and repeat the priming process. It may take more than one attempt to remove all the trapped air.
Troubleshooting Common Issues
If the pump still isn’t pulling water after priming, a few factors could be causing the problem:
- Air Leaks: If there’s a crack or loose fitting in the pipes, air may continue to enter the system, preventing the pump from maintaining suction. Inspect all connections and tighten any loose fittings.
- Low Water Table: If your well’s water level has dropped, the pump may struggle to draw water. Check the well depth and consult a professional if you suspect water levels are too low.
- Clogged Foot Valve or Pipes: Debris or sediment buildup can restrict water flow. If priming doesn’t work, you may need to inspect and clean the foot valve, intake pipe, or filters.
- Pump Malfunction: If the pump is old or has mechanical wear, internal components like the impeller or seals may need replacement. If priming repeatedly fails, it may be time for repairs or a new pump installation.
Maintaining Your Well Pump for Long-Term Performance
Regular maintenance helps prevent loss of prime and extends the lifespan of your well pump. Here are some key maintenance tips:
- Check for leaks in the system periodically and tighten any loose fittings.
- Inspect the pressure gauge and ensure it operates within the recommended range.
- Flush the pump system occasionally to remove debris and sediment buildup.
- Monitor the well water level if you notice a sudden drop in water pressure.
- Turn off the pump correctly if you plan to leave it unused for extended periods to avoid air leaks.
By taking these precautions, you can minimize the chances of needing frequent priming and keep your well-water system running efficiently.