How to Make a Simple Kids Bookshelf for the Playroom
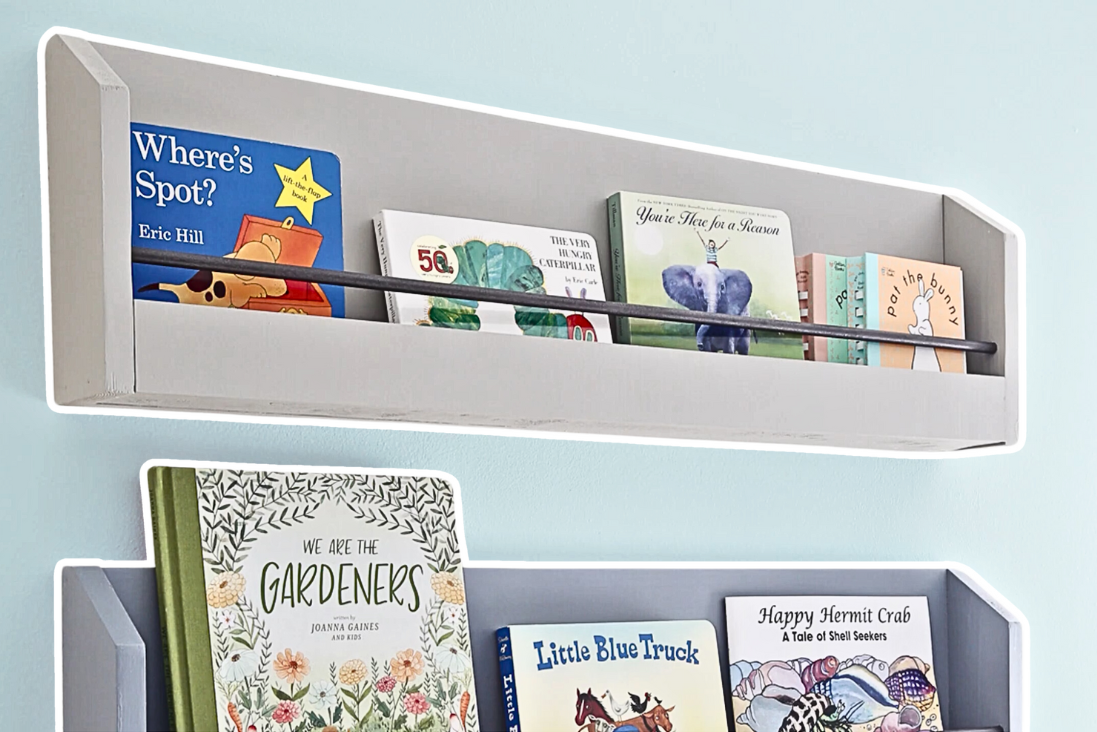
Image credit: Angela Marie Made
My kids are like tiny tornadoes of curiosity, constantly bouncing from one interest to the next. One day, they’re fascinated by dinosaurs; the next, it’s all about astronauts and rocket ships. So, naturally, their book collection grows just as fast, with new stories constantly piling up. But as those books started mingling with blocks and dolls, our playroom quickly turned into a chaotic jumble. That’s where I got the inspiration to build a simple kids bookshelf for the playroom, and since I don’t have a lot of floor space for a standing bookshelf, I decided to make some floating ones that I attached to the wall to save space (and my sanity).
Related: Expand Your Storage Space With the Best Wood Dressers
Gathering Your Materials and Tools
Before you begin, you’ll need to gather some materials and tools to make this project come together seamlessly. Having everything on hand will make the process smoother and more enjoyable.
Materials:
- Wood for the frame: 2 pieces of 1” x 10” x 24” for the sides, 2 pieces of 1” x 10” x 36” for the top and bottom
- Shelves: 3 pieces of 1” x 8” x 36”
- Back panel: 1 piece of 1/4” plywood cut to 36” x 36”
- Wood glue: Strong adhesive for securing joints
- Wood screws: 1 1/4” screws for assembly
- Wood filler: For smoothing out imperfections
- Sandpaper: Medium and fine grit for finishing
- Paint or wood stain: Your choice of finish
Tools:
- Drill: For making pilot holes and driving screws
- Saw: A miter saw or circular saw for cutting wood to size
- Tape measure: To ensure precise measurements
- Square: For keeping angles true
- Clamps: To hold pieces together while gluing
- Paintbrush or roller: For applying finish
Building the Frame
Creating the frame is the first step in building your kids’ bookshelf. This involves assembling the outer structure that will support the shelves and keep everything secure.
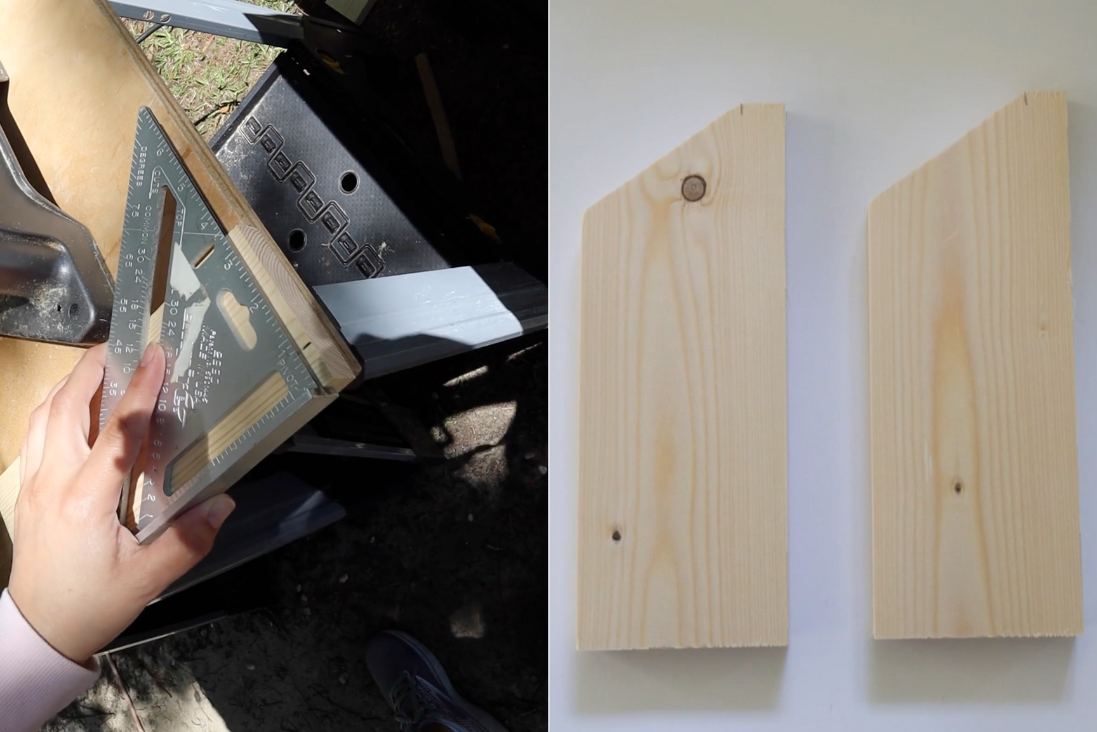
Start by taking the two pieces of wood that will form the sides of the bookshelf. These should be the longer 1” x 10” boards, cut to 24 inches. Using your tape measure and square, mark where the top and bottom shelves will sit. Typically, spacing the shelves around 12 inches apart works well for accommodating most kids’ books, but feel free to adjust the spacing according to your needs.
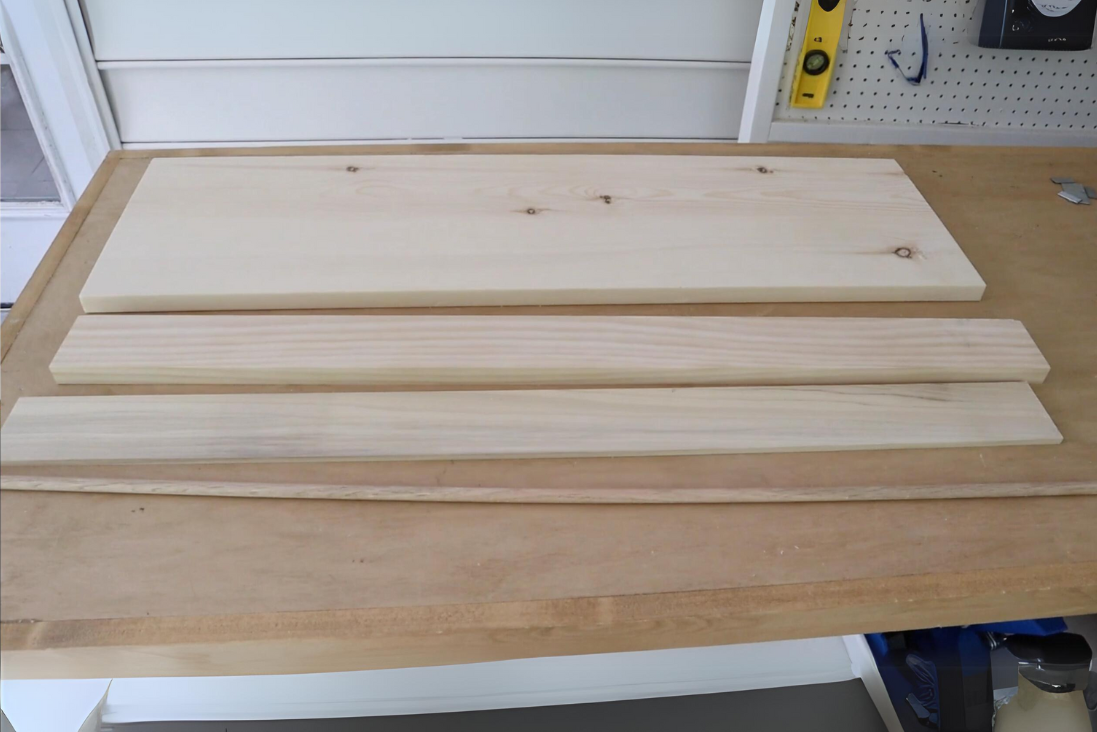
Once marked, drill pilot holes in the side boards where the shelves will attach. This will help prevent the wood from splitting when you screw everything together. After drilling, apply wood glue to the edges of the shelf boards, then align them with the pilot holes on the side boards. Use your drill or cordless electric screwdriver to screw the shelves into place, ensuring each shelf is level and secure.
Attaching the Back Panel
With the frame and shelves in place, it’s time to add the back panel, which will help keep books from slipping off and provide additional stability to the bookshelf.
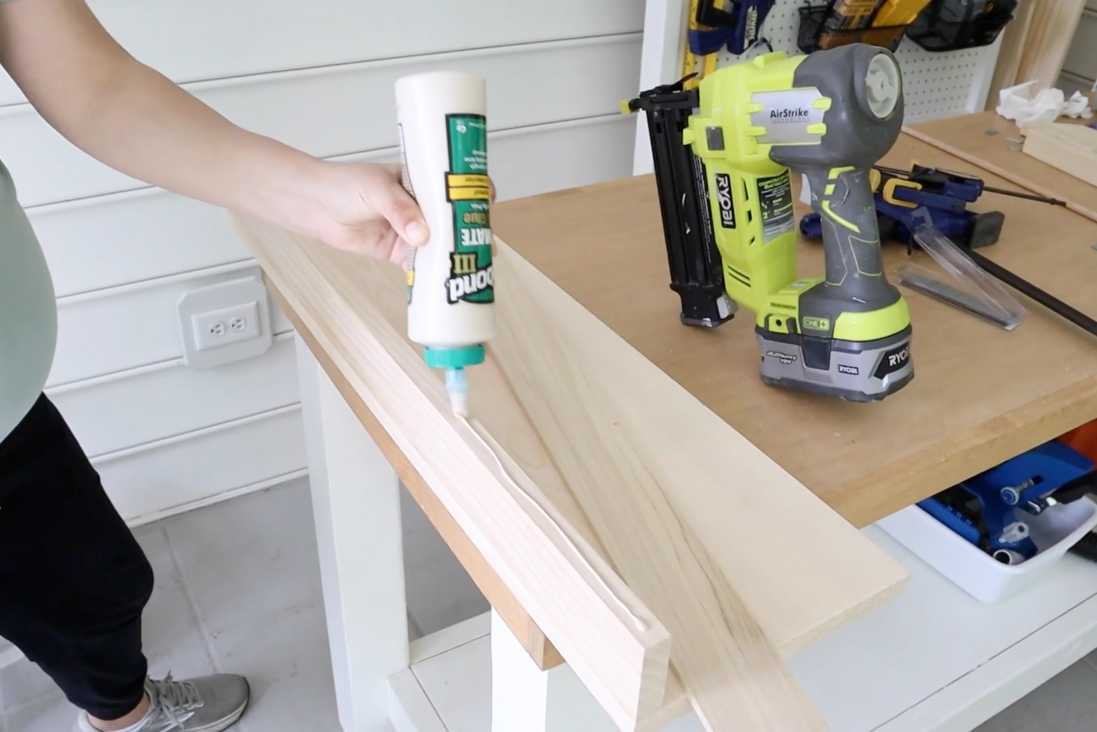
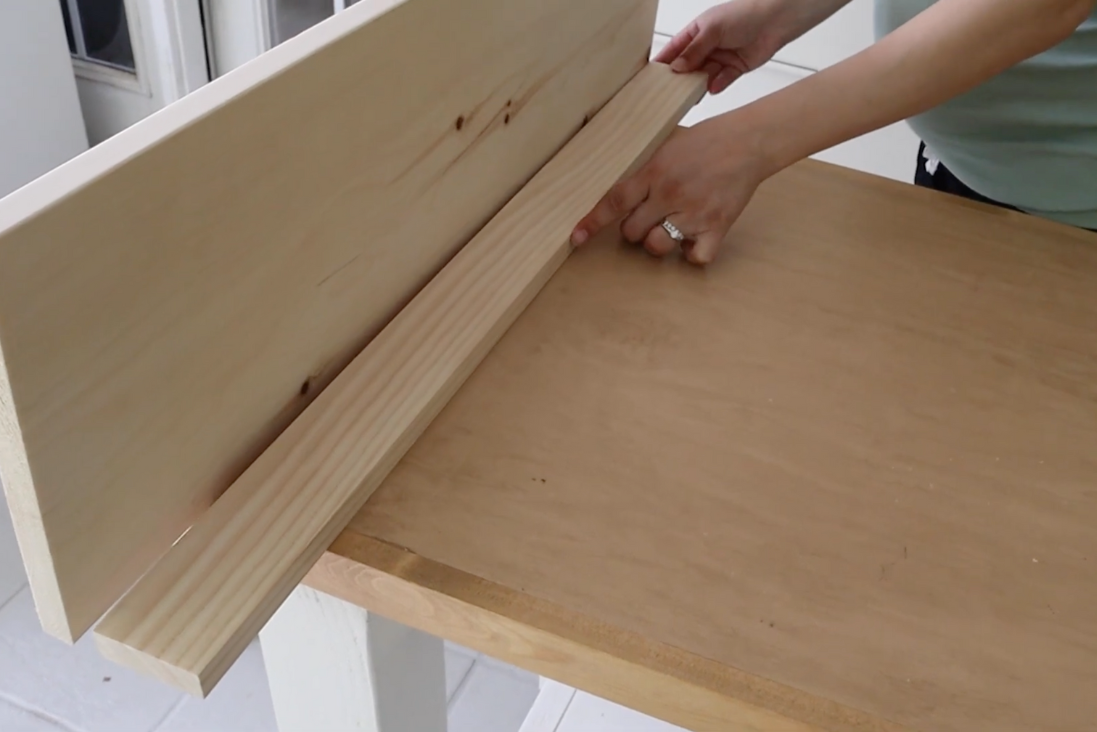
Lay the plywood panel on a flat surface and position the bookshelf frame on top of it. Align the edges of the panel with the edges of the frame to ensure a snug fit.
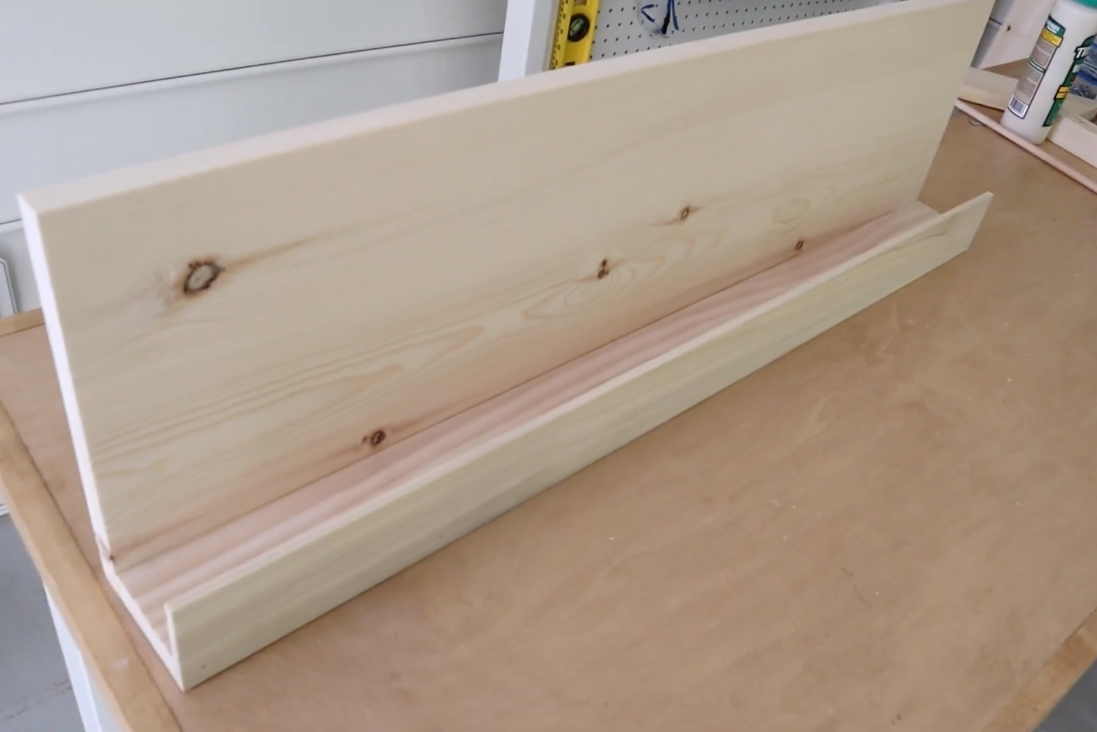
Use clamps to hold everything in place as you work. Drill pilot holes around the edges of the back panel at regular intervals, then secure the panel to the frame using wood screws. This step will reinforce the entire structure, making it sturdy and durable.
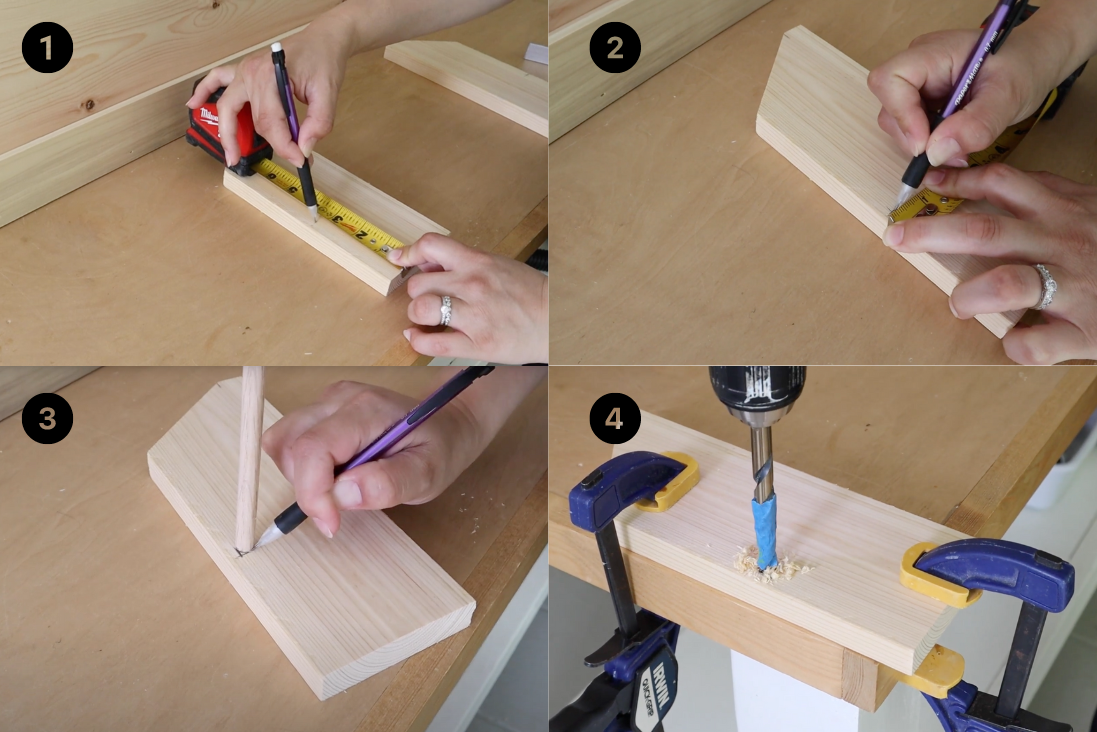
Sanding and Painting
Now that the structure of your bookshelf is complete, it’s time to smooth out any rough edges and apply a finish. Sanding is an important step that ensures the wood is safe to touch, especially for little hands. Use medium-grit sandpaper to smooth down any rough spots, followed by fine-grit sandpaper for a polished finish. Pay extra attention to corners and edges, as these areas can sometimes be sharp.
After sanding, wipe down the bookshelf with a damp cloth to remove any dust. This will prepare the surface for painting or staining. Choose a paint or stain color that complements your playroom’s decor.
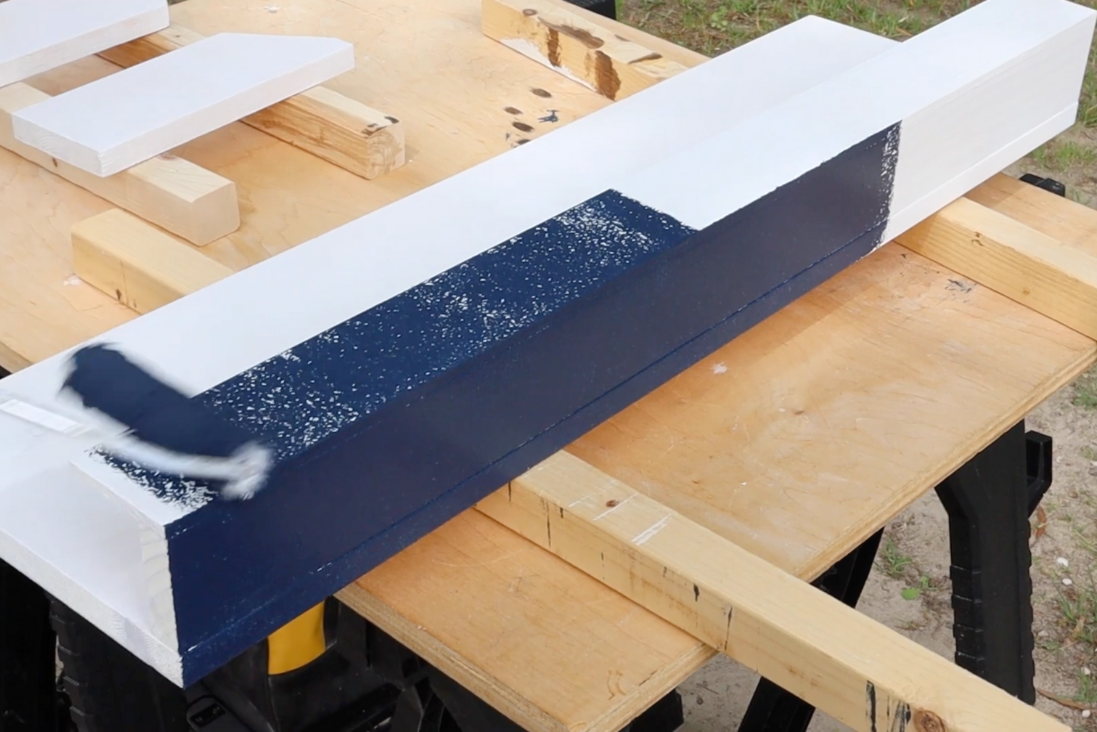
Whether you opt for a vibrant color that makes a statement or a natural wood stain that highlights the grain, make sure to apply your finish evenly using a brush or roller. Allow adequate drying time between coats to achieve a smooth, professional-looking finish.
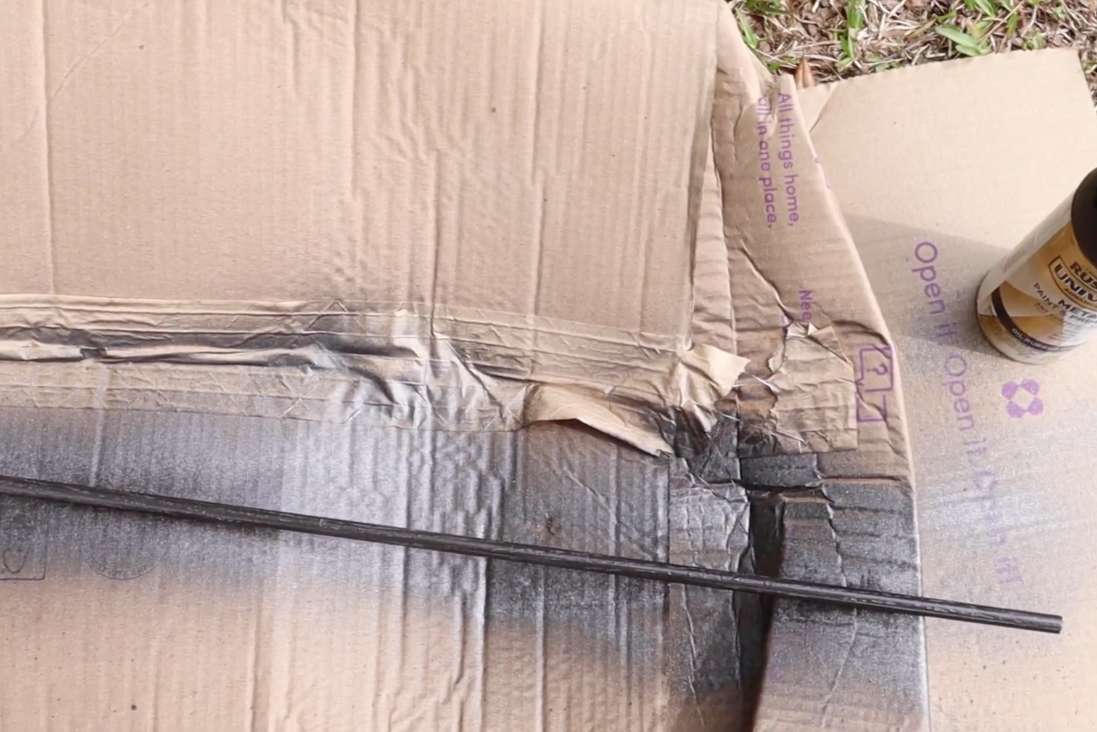
Assembling the Kids Bookshelf
With the bookshelf structure in place and the finish applied, it’s time to assemble everything and add the final touches. You might notice that the holes you drilled earlier for the dowel rod have slightly narrowed due to paint seeping into them. Don’t worry; this is a common issue. Simply take your drill and gently widen the holes so that the dowel rod can fit snugly.
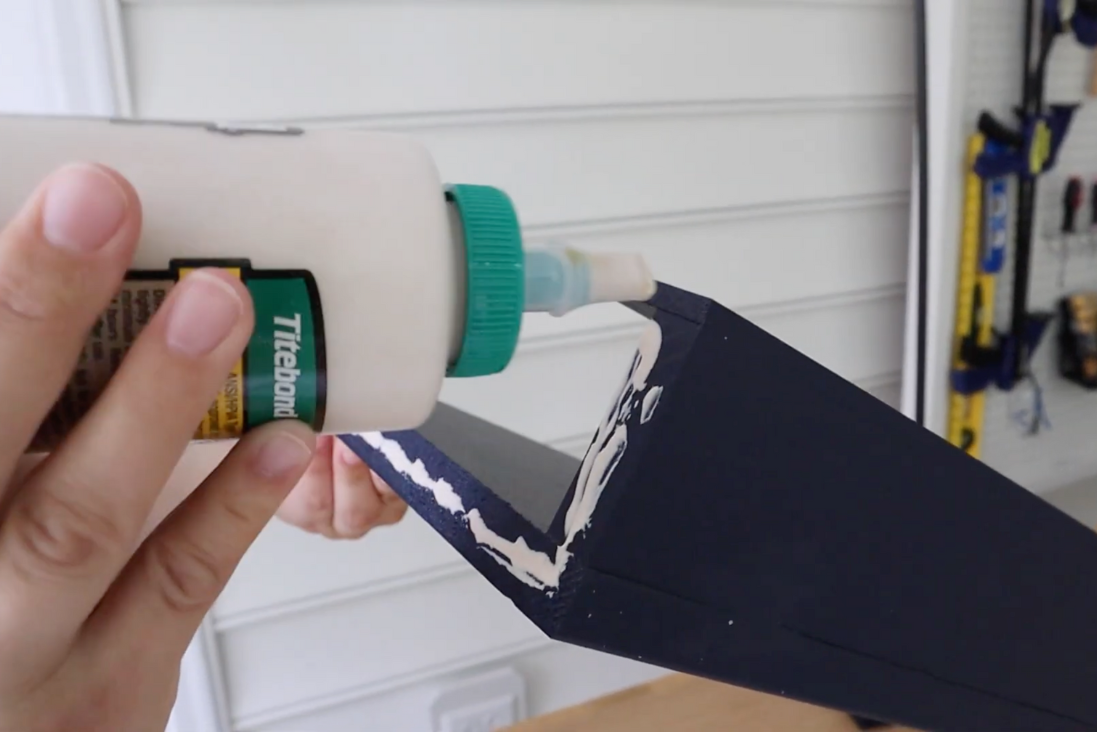
Next, apply wood glue to the ends of the dowel rod and carefully insert it into one sideboard piece, attaching it to the bookshelf. This step is easier if you do it one side at a time, ensuring everything lines up perfectly. Once the first sideboard piece is secure, repeat the process with the second sideboard piece, attaching it to the opposite end of the dowel rod and the bookshelf.
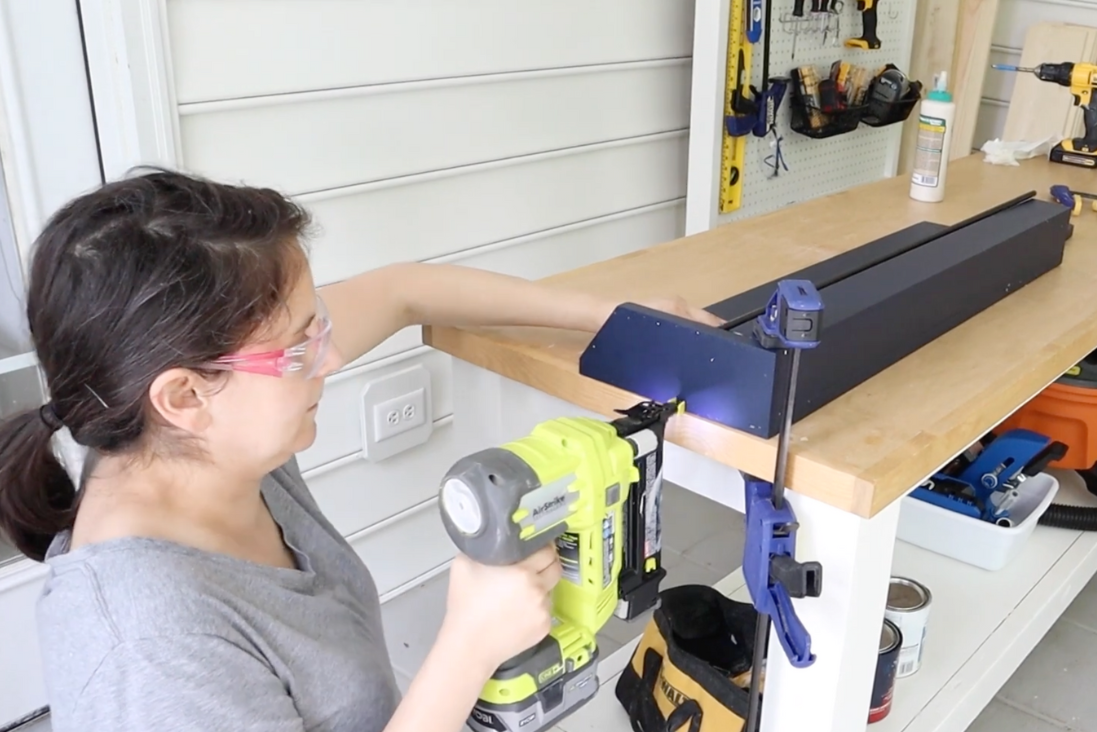
To finalize the assembly, secure the sides to the bookshelf using wood glue and finish nails. This will provide additional stability and ensure that the bookshelf can withstand the demands of everyday use.
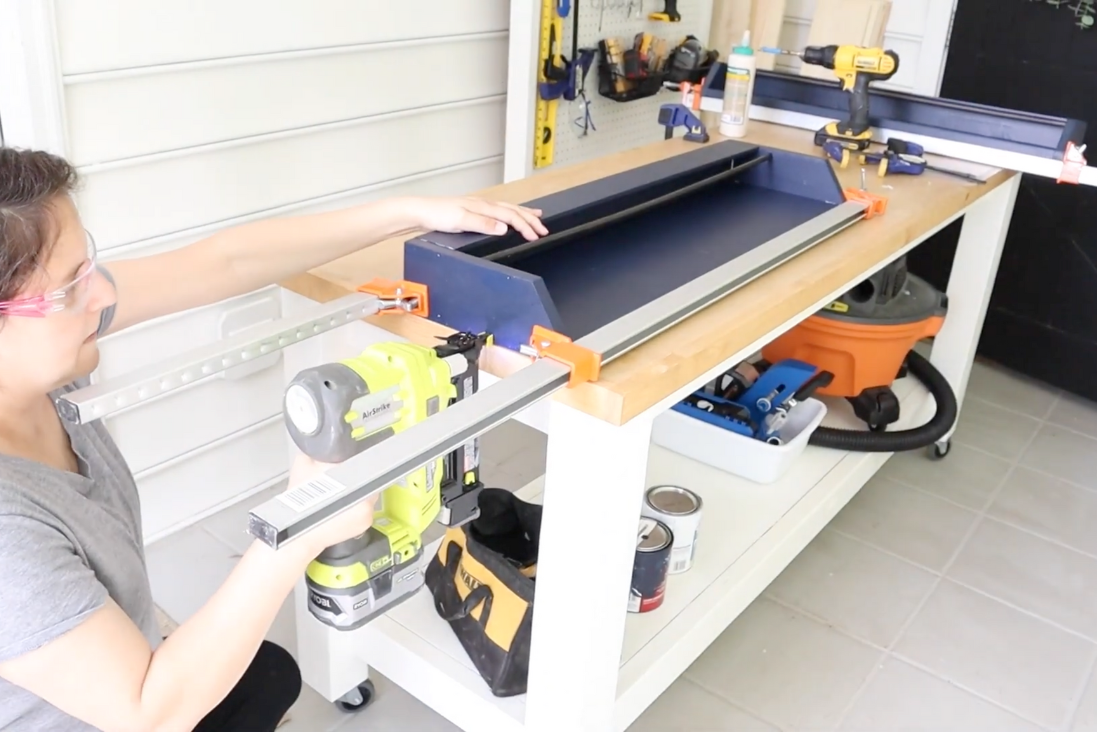
Your new bookshelf will be a staple in the playroom for years to come, so make sure you encourage kids to treat their books and furniture with care. It will help preserve the bookshelf’s appearance and function!
Periodically check for any loose screws or wobbly shelves, and tighten them as needed. Clean the bookshelf regularly with a damp cloth to prevent dust and dirt buildup. If you’ve chosen to paint your bookshelf, consider applying a clear coat of polyurethane every couple of years to protect the paint and maintain a fresh look.