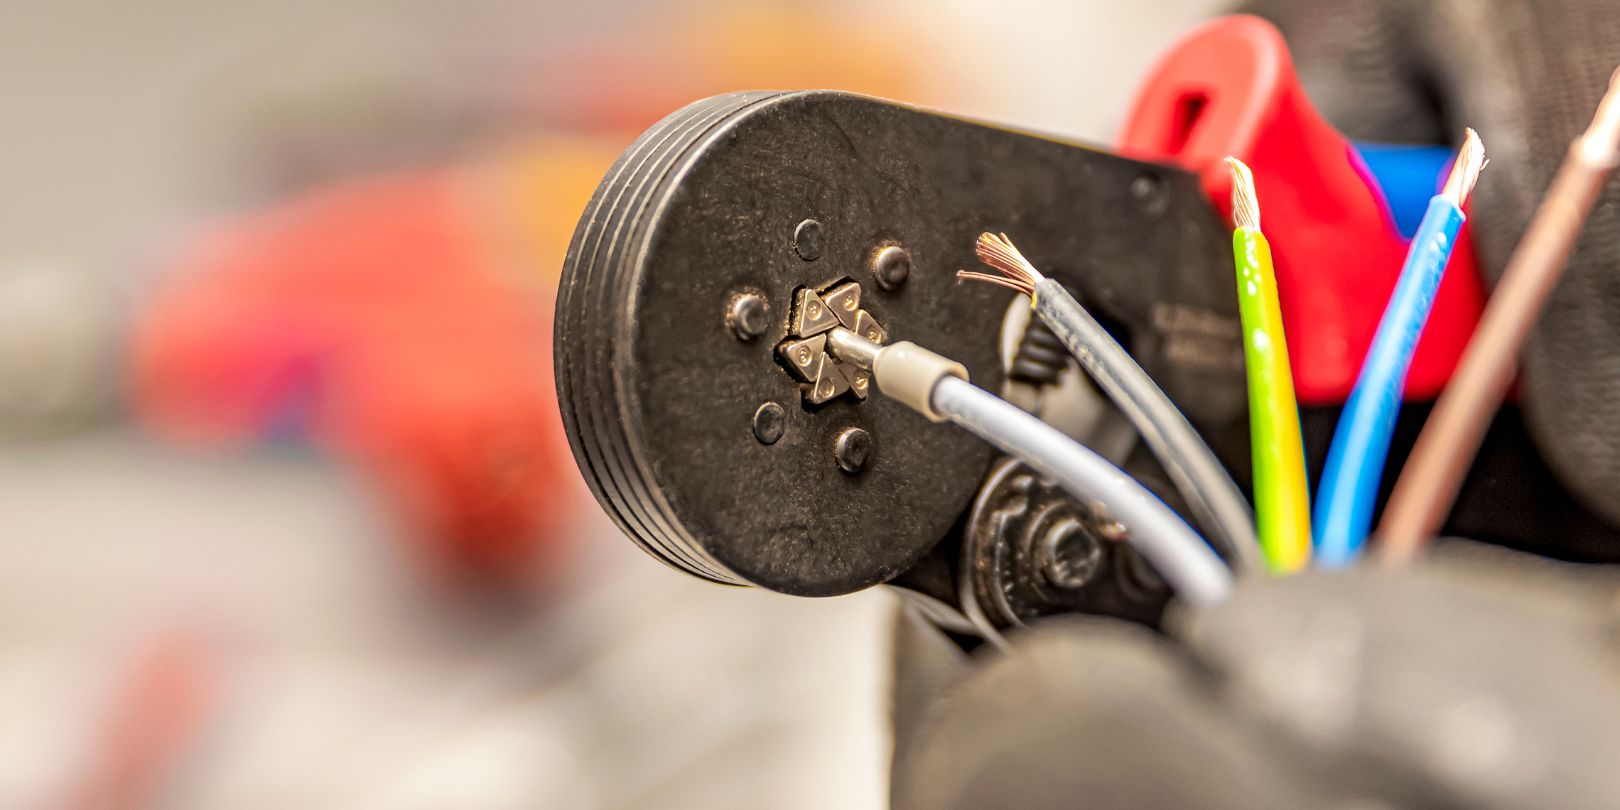
How To Crimp Wires: Tips and Tricks for Beginners

xr:d:DAFo1FL9DFI:1348,j:3338696511372903575,t:23091809
Crimping wires, often perceived as a task for seasoned pros, is a skill that holds immense value for beginners venturing into DIY projects or household fixes. The art of wire crimping involves creating secure connections by deforming metal connectors around wires, ensuring reliability and safety.
While it might seem like a daunting task at first, grasping the fundamentals of this technique can empower newcomers to execute projects with confidence. In this guide, we’ll unravel the essentials of wire crimping, equipping beginners with invaluable insights, tips, and tricks to kick-start their journey into the world of sturdy and efficient wire connections.
Understanding Wire Crimping
Wire crimping involves joining two or more wires together by deforming a metal connector around them. This process creates a solid and durable connection, preventing wires from coming loose and causing potential hazards. Crimping is widely used in industries like automotive, electronics, and telecommunications, as well as everyday DIY projects.
Essential Tools and Materials
Before you begin crimping wires, gather the necessary tools and materials. Here’s what you’ll need:
- Wire crimper: Invest in a high-quality wire crimping tool designed for the size and type of wires you’re working with. Crimpers come in various shapes and sizes, each suited for specific tasks.
- Wire strippers: These tools are used to remove the insulation from the ends of wires, exposing the conductive metal underneath. Make sure to use the appropriate gauge stripper for your wires.
- Wire connectors: Choose connectors that match the gauge and type of wires you’re working with. Butt connectors, spade connectors, and ring terminals are common options.
- Wire: Select the appropriate wire for your project. The wire’s gauge (thickness) and material should suit the intended application.
Step-by-Step Crimping Process
Follow these steps to crimp wires effectively:
- Using wire strippers, carefully remove about 1/2 inch of insulation from the ends of the wires you plan to crimp. Ensure that no stray wire strands are left exposed.
- Slide the stripped ends of the wires into the appropriately sized connector. Make sure the wires are inserted fully, up to the wire insulation.
- Place the connector in the correct section of the wire crimper. The tool’s jaws should align with the connector’s crimping section.
- Squeeze the wire crimper’s handles firmly and evenly to deform the connector around the wires. Apply enough pressure to ensure a solid connection without over-crimping, which could damage the wires.
- After crimping, give the connection a gentle tug to ensure the wires are securely held in place. Also, visually inspect the crimped connector for any signs of uneven deformation or exposed wire strands.
Tips and Tricks for Successful Wire Crimping
Here are some tips and tricks for achieving successful wire crimping. It all begins with choosing the appropriate connector, as using connectors that align with the wire gauge and type is imperative to establish a dependable connection. Whether oversized or undersized, mismatched connectors can result in weakened connections and potential safety risks. The quality of the wire crimper is equally vital. Opting for a high-quality tool is recommended, as inexpensive or poorly manufactured options can yield irregular crimps and even cause damage to the wires.
Doing preliminary practice by working with scrap wires before tackling your main project can significantly enhance your crimping skills. This practice phase allows you to familiarize yourself with the process and refine your technique. During the actual crimping process, maintaining consistent and appropriate pressure is key. Applying too much pressure might excessively deform the connector, whereas insufficient pressure can lead to loose connections.
To ensure optimal results, avoid overcrowding the connector when inserting wires. It’s crucial that each wire fits comfortably within the connector, devoid of excessive bending or twisting, to maintain the integrity of the connection. A thorough inspection is necessary to verify the quality of your crimped connections. Before relying on them in your projects, subject the connections to a gentle pull test and conduct a visual assessment to ensure their robustness.
Final Thoughts
Learning how to crimp wires is a valuable skill that opens the door to many DIY projects and repairs. Beginners can achieve secure and reliable connections by understanding the basics of wire crimping and following the steps and tips outlined in this guide. Remember, practice makes perfect, so don’t hesitate to practice on scrap wires before taking on more significant projects. With patience and attention to detail, you’ll soon become proficient in the art of wire crimping.