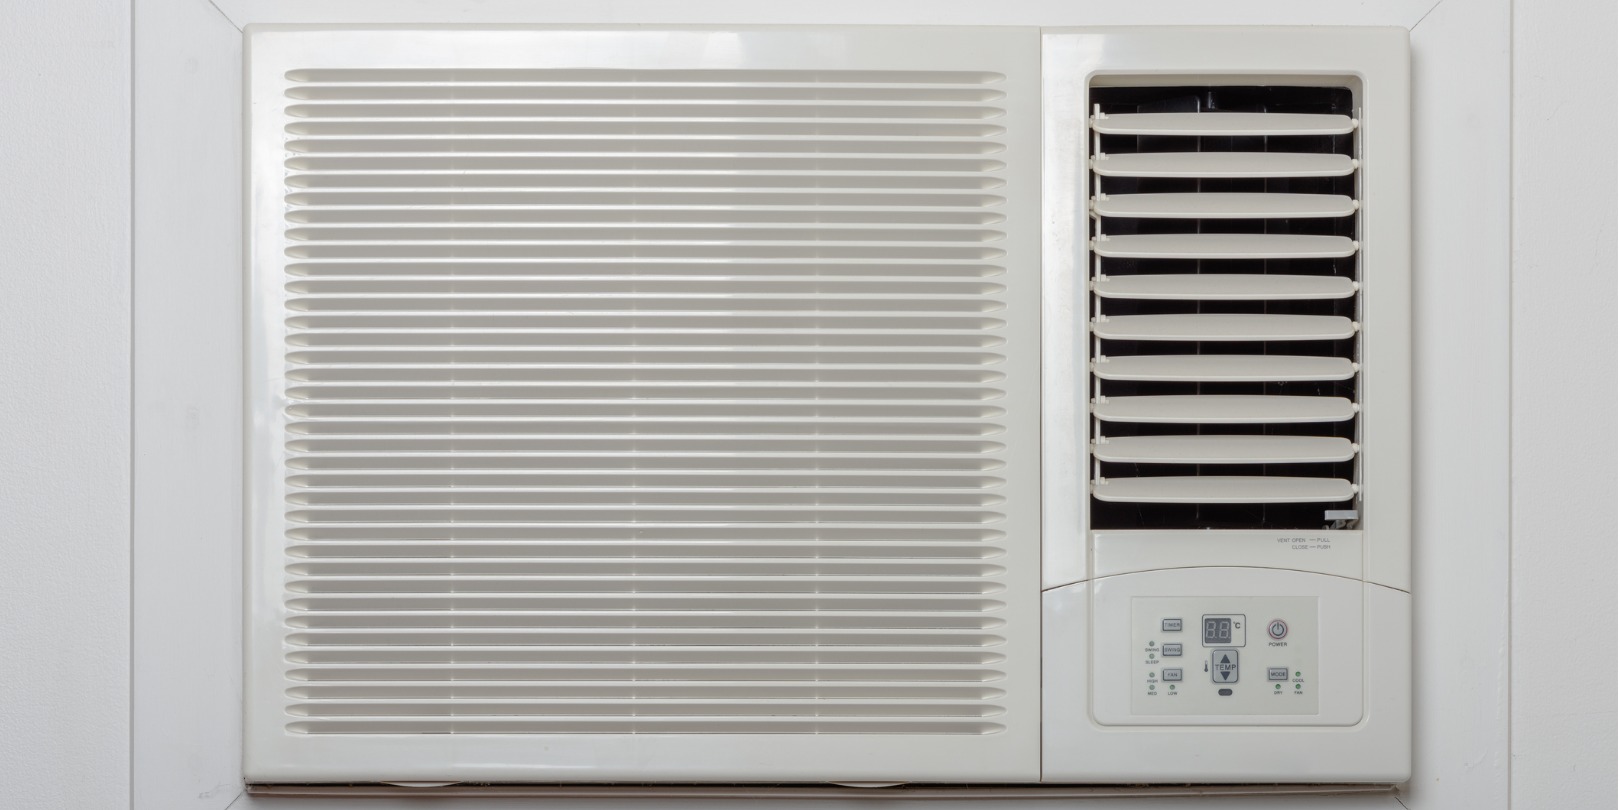
Air Conditioning Basics: How To Clean a Window AC Unit

We all know air conditioning is a life-saver during those hot summer months. But what many people don’t know is that to keep your window AC unit running efficiently, it’s important to clean it regularly. In this article, we’ll discuss the basics of air conditioning and provide step-by-step instructions for how to clean a window AC unit.
We explain the importance of cleaning your AC unit, what materials you’ll need, and how to properly clean the device’s fan, condenser, filter, and more. We’ll also provide advice on how to recognize when it’s time to replace your unit and tips for selecting a new one.
Preparation
The first step in cleaning your window air conditioner is removing and properly disposing of the filter. If you haven’t done so, purchase a replacement filter from a local hardware store or online before cleaning. Be sure to choose the right size filter for your specific model. Once you have a replacement filter, turn off and unplug the unit before opening it up.
Clean the Filter
Once you’ve removed the old filter, thoroughly rinse it in lukewarm water and then allow it to dry for 10-15 minutes. While your old filter dries, take this time to inspect it for any signs of damage or wear. If any parts of the filter appear damaged or worn down, it may be time to upgrade to a new one. Once you’ve inspected the old filter and allowed ample time to dry completely, slide the new filter into place on the window air conditioner. Make sure the new filter fits snugly and isn’t loose or jiggling when placed back into the unit.
Clean the Interior of the Unit
Now that you’ve removed the new filter, it’s time to give the interior of the window air conditioner a good clean. To do this, you’ll need to remove all its components from inside, including its fan blades, grills and other pieces that prevent dust and debris from entering its workings. For best results, use a vacuum cleaner with an attachment hose for crevices and hard-to-reach areas where dirt and dust can accumulate over time. Be sure to clean behind any accessible panels where dirt and water can settle, as well as around any exterior components like fan blades and other moving parts that can become clogged with dirt or debris over time.
Reassemble the Unit
Once you’ve finished vacuuming out all of the dust and debris inside your window air conditioner, it’s time to reassemble all of its components back into their rightful place. Carefully replace each fan blade, grill, cover and other components in its original position before sliding your new filter back into place. Make sure you securely fasten each component back into its respective slot before putting it on the cover panel to secure everything back together.
Finishing Touches
The final step in cleaning your window air conditioner is giving it one last checkup from top to bottom before turning it back on again. Ensure the power cord has been plugged correctly into its corresponding outlet, and make sure you have properly tightened any screws atop any covers or panels in place throughout the unit—including securing your new filter too! With a thorough cleaning done, you now have restored effectiveness to ensure cool air will once again flow freely through your window air conditioner all summer long!
Taking the time to clean your window AC unit regularly not only ensures that your unit stays in good working condition but can also result in improved air quality in your home. Regular cleaning of the fan, condenser, filter, and other components within the unit can help eliminate any accumulated dirt, dust, and debris that can reduce the effectiveness of your unit. By employing the steps outlined in this article, you are sure to be equipped with all the knowledge you need to keep your window AC unit running smoothly and efficiently each and every summer.