Handyman Projects: How to Build a Ramp for a Shed in One Day
Ensuring easy access to your shed is fundamental to maximizing its utility. A well-constructed ramp not only enhances functionality but also caters to the needs of all users. In this comprehensive guide, we’ll walk you through the step-by-step process of building a robust and practical shed ramp, achievable within just one day.
From selecting the right materials to wielding the necessary tools, this project promises to be a rewarding venture for DIY enthusiasts and homeowners alike. With a focus on simplicity and efficiency, you’ll soon discover how creating a functional ramp can significantly elevate the accessibility and overall usability of your shed space.
Materials and Tools
Before diving into the construction process, gather the necessary materials and tools. For a simple shed ramp, you’ll need:
Materials
- Pressure-treated lumber (2×6 or 2×8)
- Exterior-grade plywood
- Galvanized screws
- Concrete blocks or deck blocks
- Gravel
- Wood sealer or outdoor paint
Tools
- Circular saw
- Drill with bits
- Screwdriver
- Level
- Tape measure
- Pencil
- Multitool
- Safety gear (gloves, protective eyewear, ear protection)
Step 1: Measure and Plan
Start by measuring the height from the ground to the shed threshold. This measurement will determine the ramp’s slope. Ideally, a 1:12 slope (1 inch of rise for every 12 inches of run) is ideal for accessibility.
Next, determine the width of your ramp. A width of 36 inches is standard and accommodates most wheelbarrows and other equipment. Adjust the width based on your specific needs. Use a multitool for various tasks that may arise during the project, such as cutting, sanding, or other smaller adjustments.
Step 2: Prepare the Ground
Clear the area where you will install the ramp. Ensure the ground is level and stable. If the ground slopes, use a shovel to create a level base. Place concrete blocks or deck blocks at regular intervals to support the ramp structure.
Step 3: Cut Lumber to Size
Using a circular saw, cut the pressure-treated lumber to the desired length for the ramp. Remember to account for the width of the ramp and the desired slope. For a 36-inch wide ramp with a 1:12 slope, a typical length might be around 12 feet.
Step 4: Frame the Ramp
Create a frame by attaching the cut lumber pieces together. Use galvanized screws to secure the frame, ensuring it is sturdy and well-constructed. This frame will serve as the foundation for the ramp.
Step 5: Add Support Beams
Add support beams perpendicular to the frame to enhance the ramp’s stability. Space these beams evenly across the length of the ramp, making sure you securely attach them with screws.
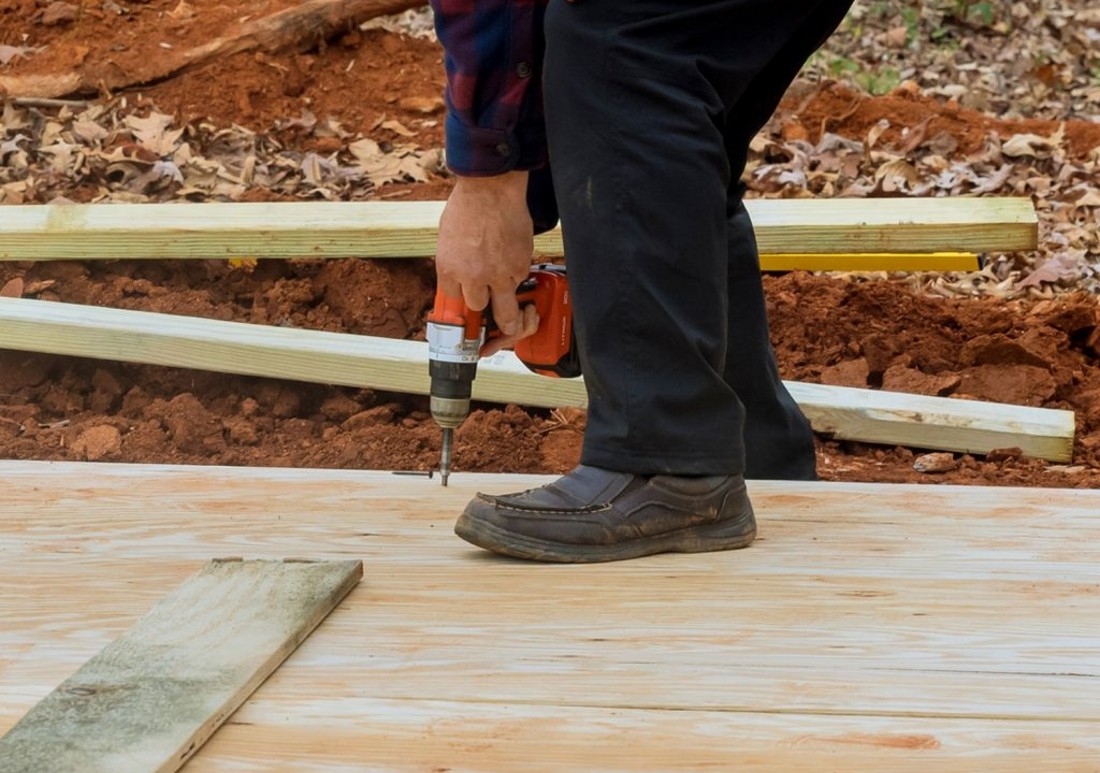
Step 6: Attach Plywood
Cut a piece of exterior-grade plywood to fit the frame. Secure it to the frame using screws, ensuring it is flush with the edges. This plywood surface provides a durable and slip-resistant walking surface.
Step 7: Install the Ramp
Position the completed ramp on the concrete blocks or deck blocks. Use a level to ensure the ramp has a consistent slope and is level from side to side. Make any necessary adjustments to achieve the desired slope.
Step 8: Finishing Touches
Apply a wood sealer or outdoor paint to protect your ramp from the elements. This will help prevent rot and extend the life of your ramp. Allow sufficient time for the sealer or paint to dry before using the ramp.
Conclusion
Building a ramp for your shed in one day is a rewarding and practical project. With basic carpentry skills and the right materials, you can enhance the accessibility of your shed and make it more functional for various purposes. Follow these steps carefully, and you’ll have a sturdy ramp that will serve you well for years to come. Remember to prioritize safety by wearing the appropriate gear and using quality materials. Now, enjoy the convenience of easy access to your shed!