How to Build a Brick Fire Pit in Your Backyard
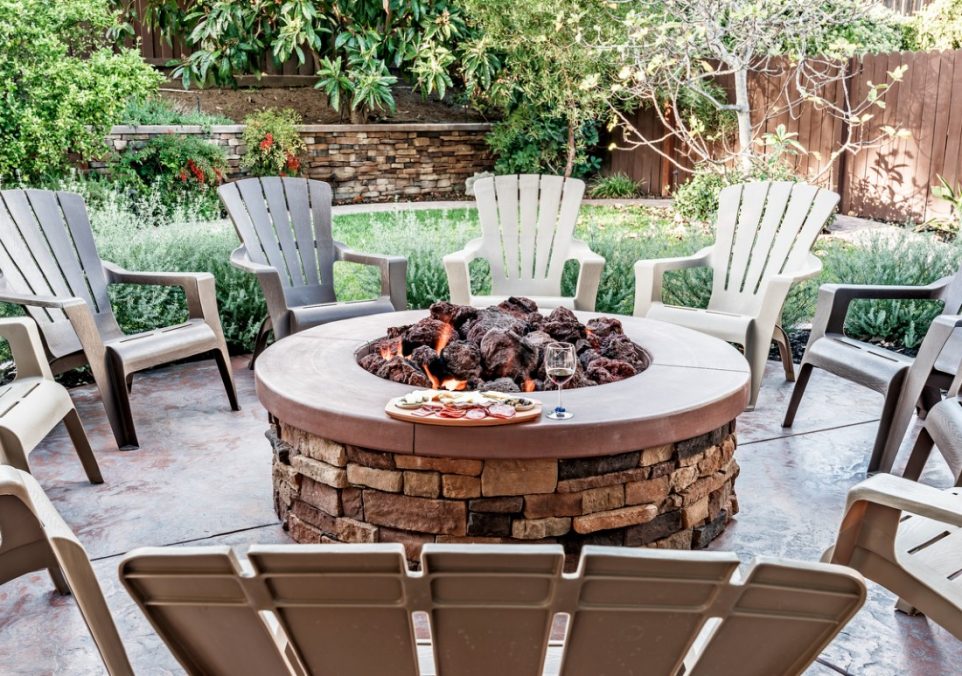
When it comes to enhancing your outdoor space, few things bring warmth and charm quite like a fire pit. Imagine crisp fall evenings spent under the stars, cozying up with loved ones around a glowing fire. Building a brick fire pit is a fantastic way to add a permanent and functional feature to your backyard.
It’s a bit more involved than your average weekend project, but the result is a durable, beautiful addition that can last for years. But before diving into construction, it’s essential to plan your project carefully.
Preparing Your Site

Choosing the right location for your brick fire pit is the first step. You’ll want a spot that’s a safe distance from any structures, trees, or overhanging branches. Consider how you’ll be using the fire pit—whether it’s a focal point for gatherings or a quiet spot for relaxation—and make sure it fits well with your existing landscape.
After settling on the location, clear the area of any debris, rocks, or plants. If there are trees nearby, you might want to trim back any overhanging limbs to prevent them from dropping into the fire. With the site prepped, it’s time to map out the size and shape of your fire pit. Most people opt for a circular design, which is both visually appealing and functional.
To lay out the circle, use a stake and a length of string tied to a can of spray paint. This will act as a giant compass, allowing you to draw a perfect circle for both the fire pit and any surrounding patio area. This simple step helps you visualize the final product and ensures your measurements are accurate before you start digging.
Creating a Solid Foundation for the Brick Fire Pit

Once your layout is complete, the next step is creating a solid foundation. While some people might choose to build directly on the ground, pouring a concrete slab provides a more robust base that can withstand shifting and frost heaves.
To form your concrete slab, you’ll need to dig a circular trench to the desired depth of your foundation, typically about four inches deep. Line the trench with a layer of gravel, which helps with drainage and stability. Next, create a form for the concrete using flexible material, such as thin plywood or PVC, cut to the height of the slab. Secure the form in place, ensuring it follows the circular layout you’ve marked.

Mix your concrete to a soupy consistency, which allows it to flow easily and fill the form completely. Pour the concrete into the form, working quickly to prevent it from setting too soon. Use a 2×4 to screed the surface, ensuring it’s level and smooth. While a perfectly polished finish isn’t necessary (since it will be covered by bricks), it should be even to provide a stable base for your fire pit.

Building the Brick Fire Pit Structure

With the foundation set, you’re ready to start building the brick fire pit structure. Fire bricks are an excellent choice for the interior lining as they are specifically designed to withstand high temperatures. These will form the inside of the pit, while regular bricks can be used for the outer wall.
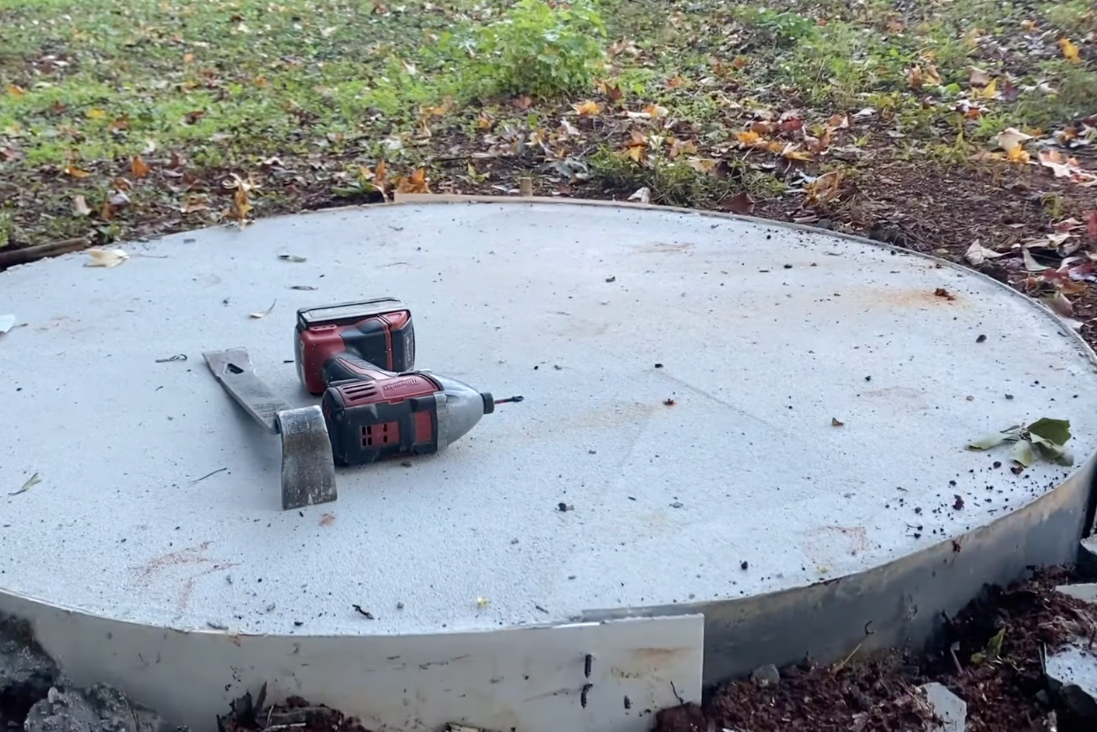
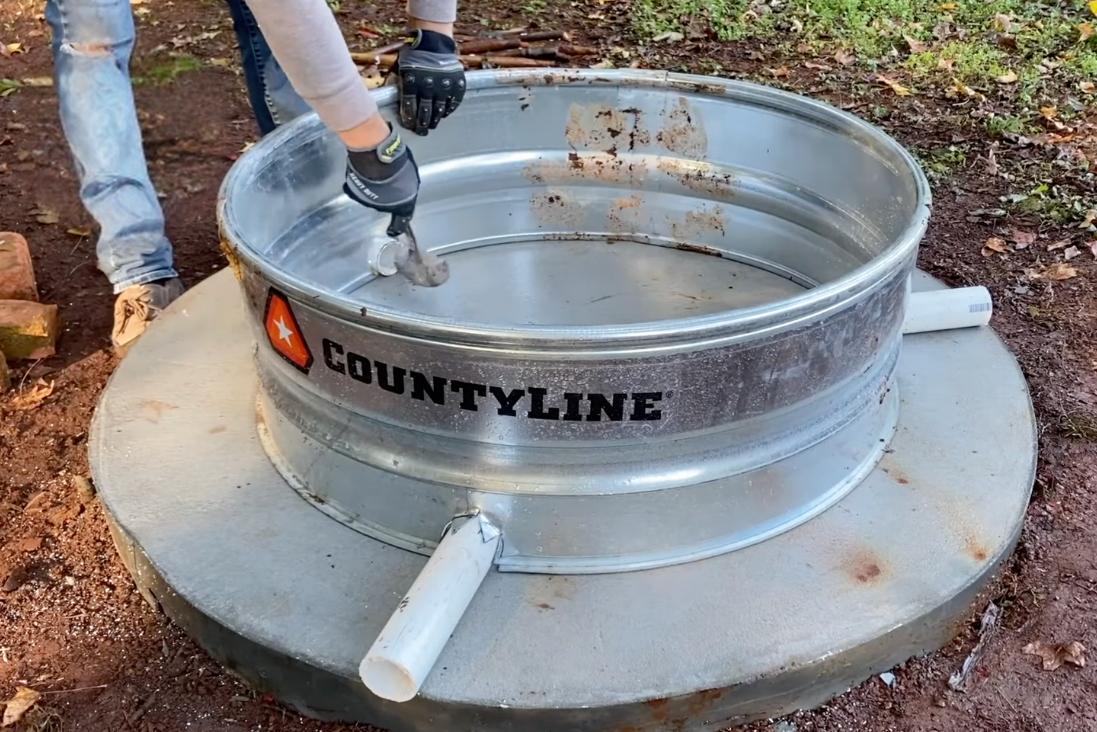
Begin by placing the fire bricks in a circle on the concrete base. These will form the core of your pit and help contain the heat. Use a metal fire ring, which can be purchased from most home improvement stores, to help shape and contain the fire. Cut a few holes in the bottom of the ring using a grinder, which will provide necessary airflow and drainage, and insert short sections of PVC pipe as forms. These will be removed later to leave small drainage channels.
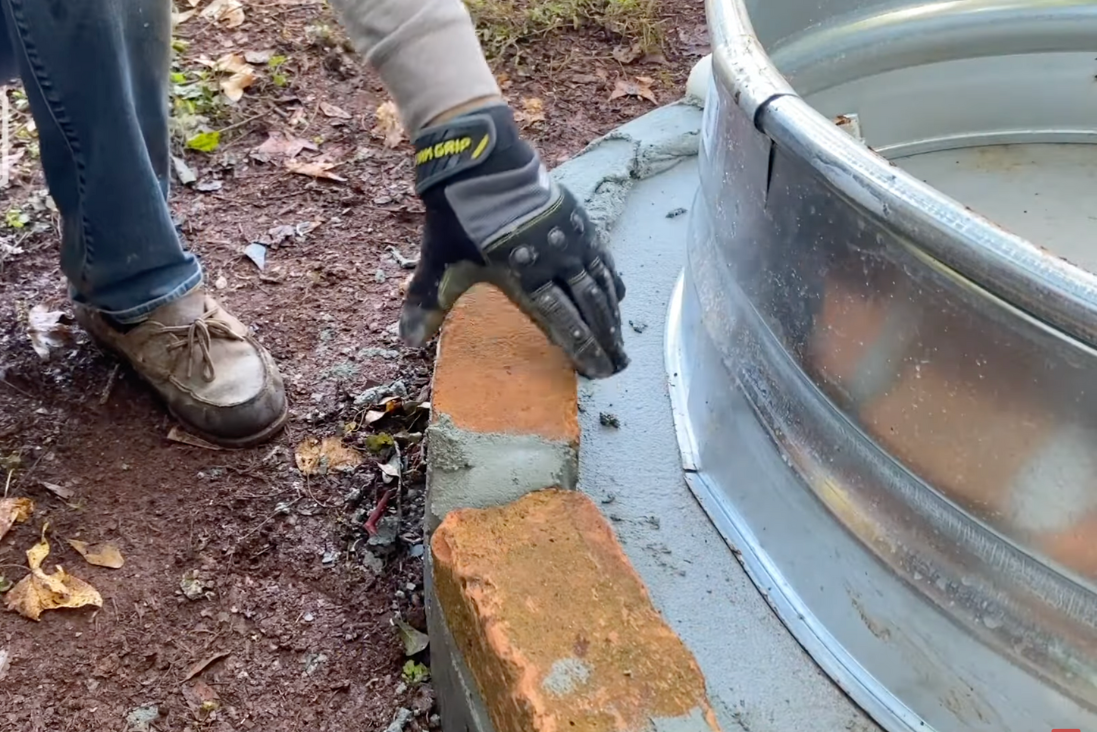
Mix up a batch of mortar, aiming for a thick consistency that holds its shape when piled on a trowel. Spread a layer of mortar on the base where the bricks will be laid, then press each brick into place, ensuring they’re level and evenly spaced.
|
Layering and Finishing Touches
As you begin to stack additional layers of bricks, stagger the joints to enhance the structure’s strength and appearance. Scrape off any excess mortar from the sides of the bricks, and use a jointer to smooth and seal the mortar lines. This will not only improve the aesthetic but also help weatherproof your fire pit.
Once you’ve built up three or four layers, it’s time to fill the gap between the metal ring and the outer wall with concrete. This additional step stabilizes the structure and ensures the fire pit retains its shape over time. Allow the concrete to set fully before moving on to the final touches.

The final step is to add a cap layer to the top of the fire pit. This involves placing a final row of bricks flat across the top to create a finished edge. This step can be a bit tricky, as it requires careful fitting and more mortar to achieve a uniform look. The cap serves as a durable surface for resting your feet or roasting marshmallows and gives your fire pit a polished appearance.
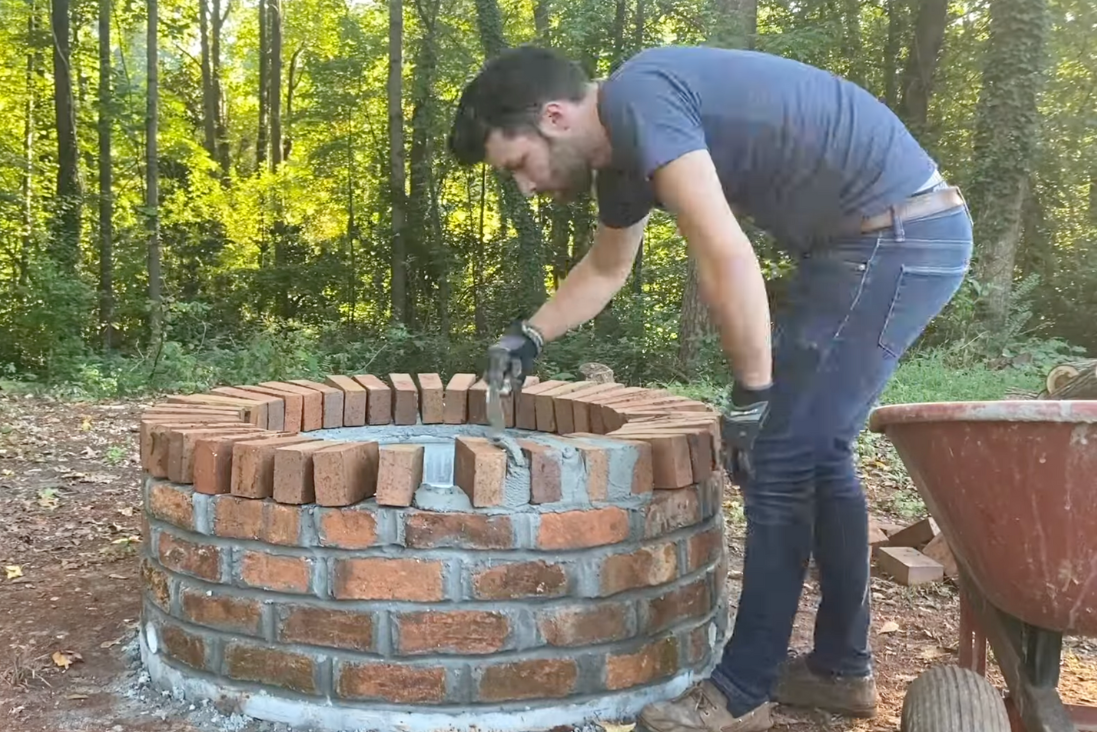
Once construction is complete, it’s important to allow the mortar and concrete to cure fully before using the fire pit. This typically takes a few days, but it’s crucial to ensure the materials have bonded correctly. Once everything is set, you can remove any PVC pipe forms and clean up any stray mortar or debris. Now add some firewood and enjoy your newly built fire pit!
