Electrical Wire Capping: 5 Easy Steps to Terminate Wires
In the dynamic world of electrical work, mastering the technique of terminating wires is a fundamental skill for both seasoned professionals and DIY enthusiasts alike. The precision and care applied during the wire termination process directly impact electrical systems’ safety, efficiency, and reliability.
This blog post serves as a comprehensive guide, breaking down the intricate process into five easy-to-follow steps. Whether you’re embarking on a home improvement project or handling complex wiring tasks, understanding the art of electrical wire capping is indispensable. Join us as we navigate through these crucial steps, ensuring you acquire the expertise needed to terminate wires confidently and precisely.
Step 1: Gather Your Tools and Materials
Before diving into the wire termination process, having the right tools and materials is vital. This ensures a smooth workflow and a successful outcome. You’ll need a wire crimping tool, electrical tape, wire nuts, and a screwdriver. Additionally, consider having a voltage tester to ensure the wires are de-energized before you start working on them. Once you have everything in place, you’re ready to move on to the next steps.
Step 2: Cut and Strip the Wires
Start by carefully measuring and cutting the wires to the desired length. Ensure that the wire ends are clean and free from any frayed strands. After cutting, use wire strippers to remove the insulation from the ends of the wires. Be cautious not to damage the conductors during this process. The exposed wire should be just long enough to fit securely into the wire nuts without any exposed copper beyond the insulation.
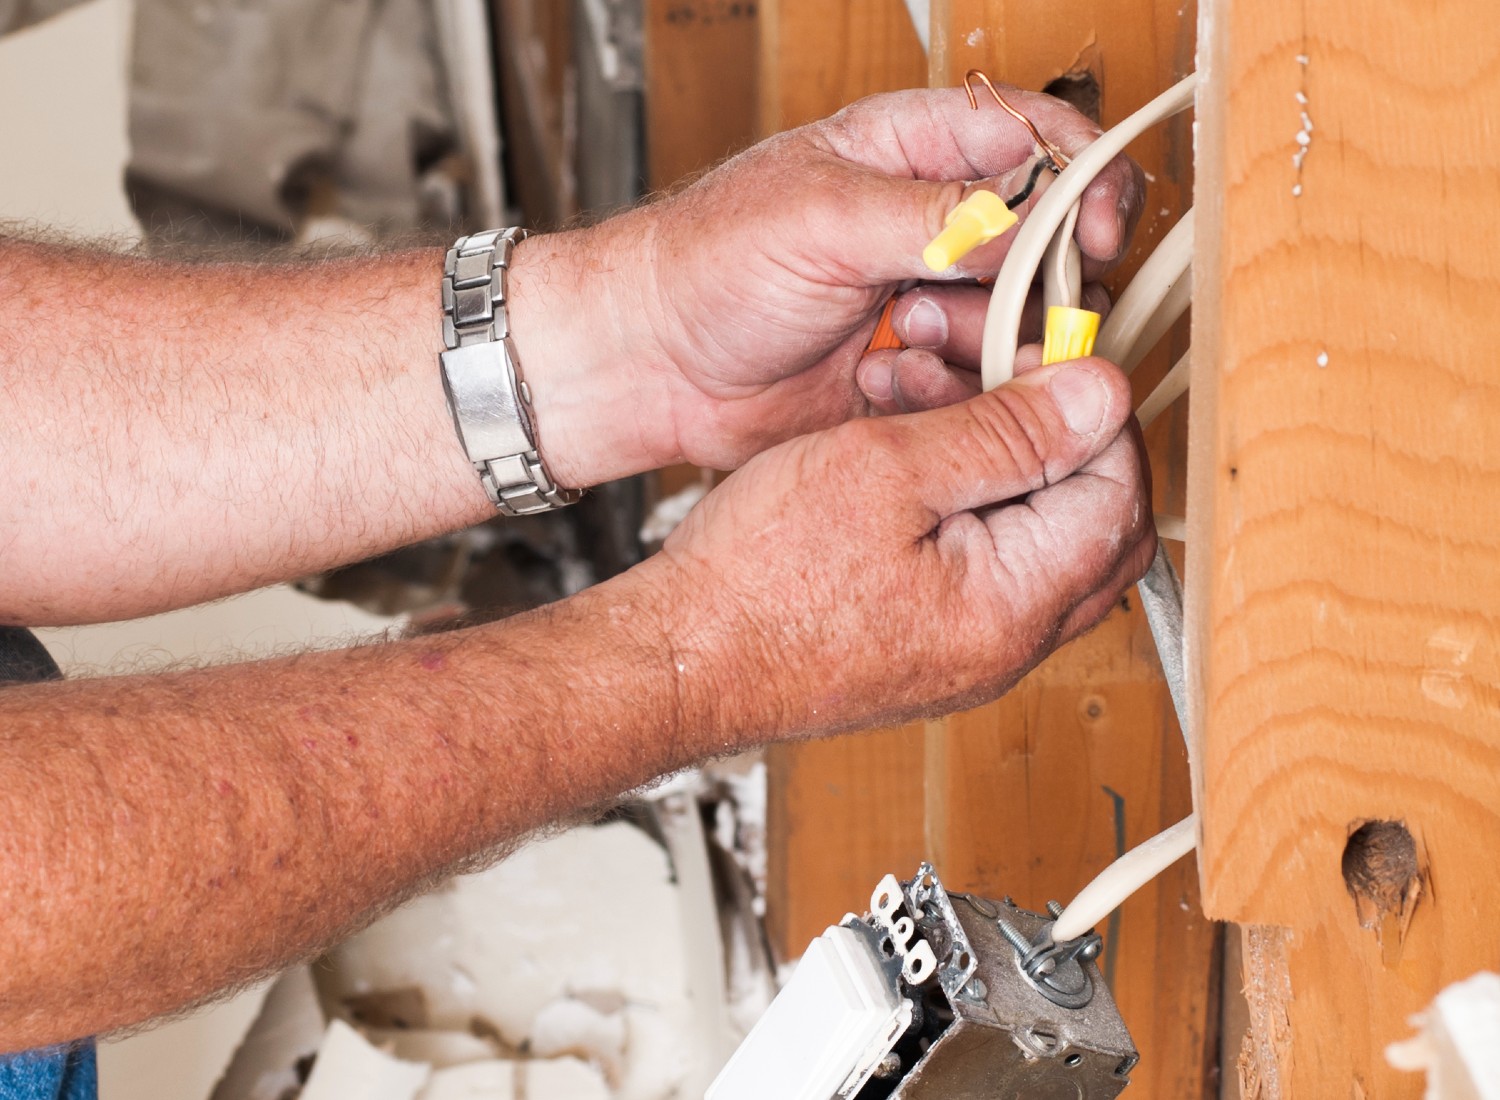
Step 3: Twist and Tightly Secure the Wires
Once you strip the wires, twist them together securely. This twisting action ensures a solid electrical connection and prevents any loose strands. The level of twisting required depends on the wire gauge, so refer to the manufacturer’s recommendations for the specific wires you are working with. After twisting, use a screw-on wire nut to secure the connection. Choose the appropriate size of wire nut for the gauge and the number of wires you are terminating. Screw the wire nut onto the twisted wires until it is snug and secure. Give the wires a gentle tug to confirm that they are tightly connected.
Step 4: Insulate with Electrical Tape
Wrap the exposed part of the wires and the wire nut with electrical tape to provide an extra layer of protection and insulation. Start just below the wire nut and wrap the tape in a tight, overlapping spiral until you cover the exposed portion of the wires. This step helps to prevent any accidental contact with the exposed conductors and enhances the overall safety of the termination. Ensure that the tape is securely wrapped and free from wrinkles or gaps.
Step 5: Test the Connection
Before considering the job complete, testing the terminated wires is crucial to ensure a successful and safe termination. Use a voltage tester to check for any live electricity in the wires. Confirm that the connected devices or circuits function as intended if the wires are part of a larger electrical system. This step is essential in preventing potential electrical hazards and ensuring the reliability of your work.
Final Thoughts
Mastering the art of electrical wire capping is fundamental for anyone engaging in electrical work. Whether you’re a seasoned electrician or a DIY enthusiast, these steps provide a solid foundation for successful wire terminations, contributing to the safety and reliability of your electrical projects. Safety should always be a priority when working with electricity, so follow best practices and guidelines to ensure a secure and efficient electrical system. All it takes is the right equipment and knowledge to accomplish this task successfully.