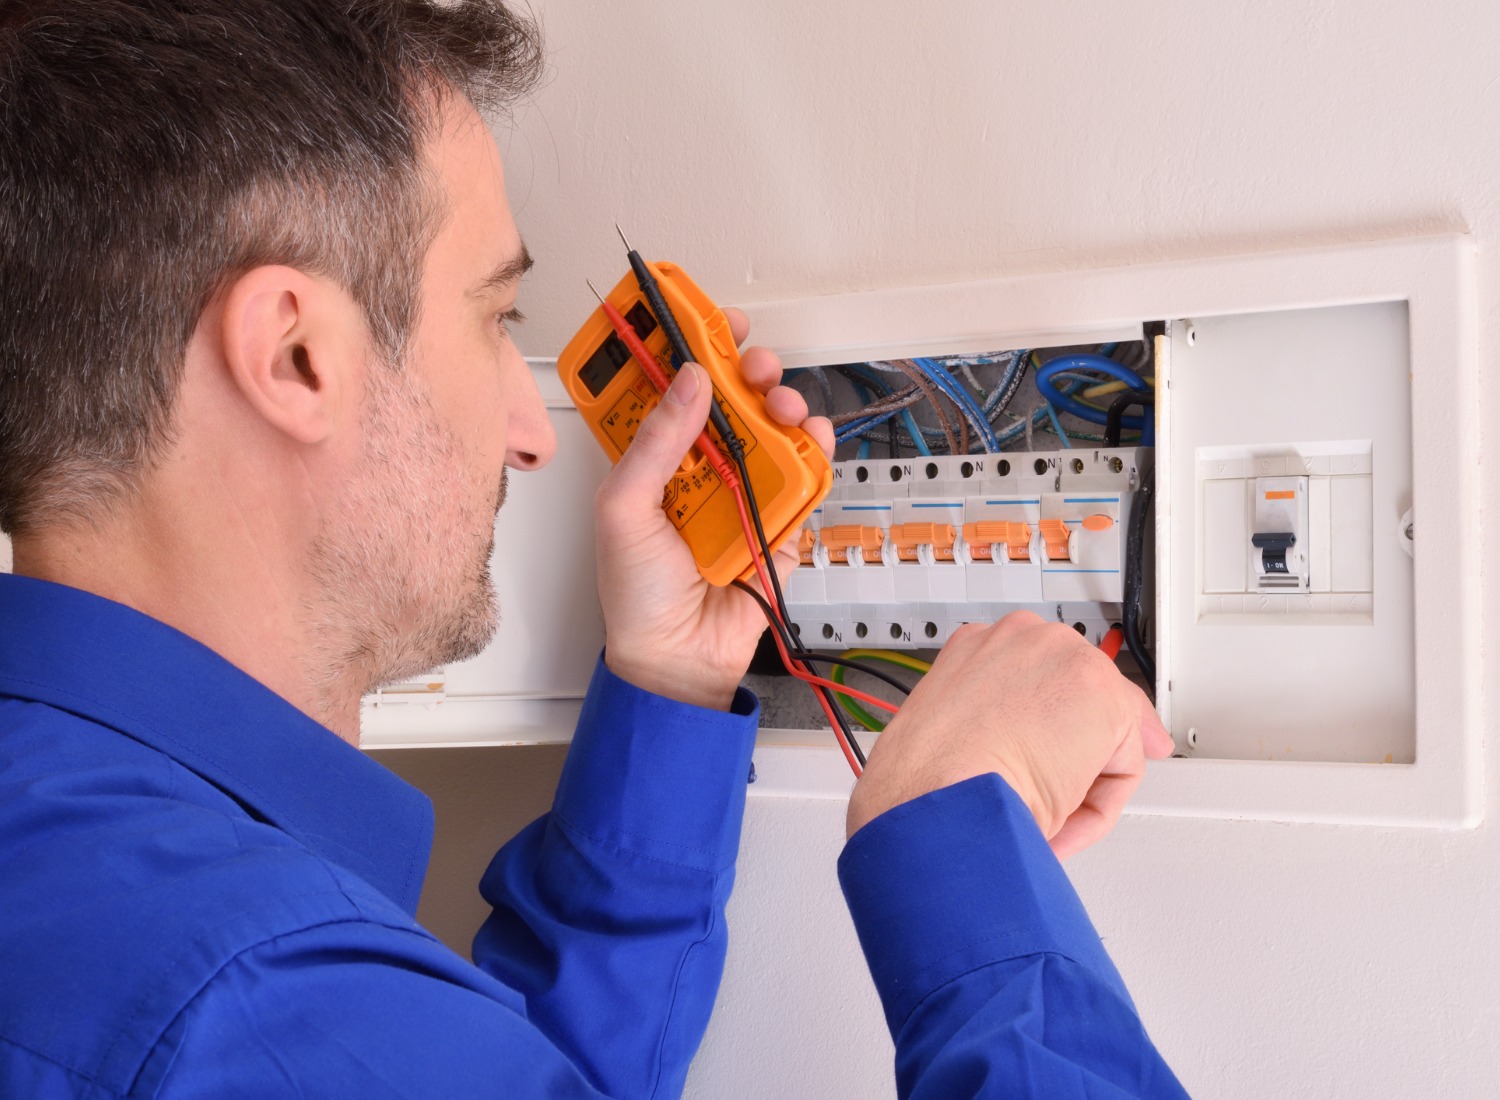
DIY Electrical Panel Installation: A Comprehensive Guide

The electrical panel, also known as the breaker box or distribution board, is the heart of your home’s electrical system. It distributes electricity to various circuits throughout your house, ensuring every appliance and outlet gets the power it needs. Whether you’re building a new home or upgrading an existing electrical panel, a DIY electrical panel installation can save you money and provide a deeper understanding of your home’s electrical infrastructure.
However, this is not a project for the faint of heart, and it requires a good deal of knowledge, skills, and careful planning to ensure safety and compliance with local electrical codes. In this comprehensive guide, we’ll walk you through the steps of a DIY electrical panel installation. Remember that electrical work can be dangerous, so if you’re not confident in your abilities, it’s essential to hire a licensed electrician.
Planning and Safety Precautions
Before you begin, it’s crucial to plan your electrical panel installation carefully and gather all the necessary permits and materials. Safety should be your top priority.
- Consult your local building department: Make sure to obtain the required permits and inspections to ensure your project is compliant with local codes.
- Turn off the main power: At the very beginning, turn off the main power supply to your home. You should also inform your family that the power will be off during the installation.
- Gather the necessary materials and tools: You’ll need a new electrical panel, circuit breakers, wiring, conduit, wire connectors, grounding rods, grounding wire, wire cutters, pliers, screwdrivers, and a voltage tester.
Removing the Old Panel
If you’re replacing an existing panel, start by safely removing the old one:
- Turn off the individual circuit breakers: This step will help prevent any accidental electrical surges while you work.
- Disconnect the main power: Carefully remove the connections to the main power lines. Make sure you follow proper safety procedures, such as using insulated tools.
- Remove the old panel from the wall: Unscrew the panel from its mounting and carefully disconnect all wires. Label each wire with tape and a marker to identify where to reconnect it.
Installing the New Panel
Now, it’s time to install the new electrical panel:
- Mount the new panel: Secure the new panel to the wall in a dry and easily accessible location. Ensure that it’s level and at the correct height as per local codes.
- Connect the main power lines: Carefully connect the main power lines to the panel. Tighten the connections securely.
- Install circuit breakers: Insert the circuit breakers into their respective slots in the panel. Ensure they are appropriately sized for the circuits they will protect.
- Connect branch circuits: Reconnect the labeled wires from the old panel to their corresponding locations in the new panel. Secure the wires with appropriate connectors.
Grounding and Bonding
Grounding is a critical safety aspect in any electrical system. Ensure proper grounding and bonding:
- Install grounding rods: Drive grounding rods into the ground and connect them to the grounding bus bar inside the panel.
- Connect the grounding wire: Run a grounding wire from the grounding bus bar to all metal plumbing and grounding electrodes in your home.
- Bonding: Ensure all metal components (water pipes, gas pipes, etc.) are properly bonded to prevent electrical shock hazards.
Final Testing and Inspection
Before restoring power to your home, complete the following tests:
- Voltage testing: Use a voltage tester to check that the power is off in the panel. After restoring power, test each circuit to verify proper functioning.
- Schedule an inspection: Contact your local building department to schedule an inspection. A licensed inspector will check your installation to ensure it complies with local electrical codes.
Final Thoughts
A DIY electrical panel installation can be a rewarding project, saving you money and providing a deeper understanding of your home’s electrical system. However, it’s crucial to prioritize safety and compliance with local codes throughout the process. If you’re uncertain about any step, it’s wise to consult a licensed electrician to ensure a safe and reliable electrical panel installation. By following the comprehensive guide and taking the necessary precautions, you can successfully upgrade your electrical panel and enjoy a more efficient and secure electrical system in your home.