A Step-by-Step Guide for How To Tile a Shower
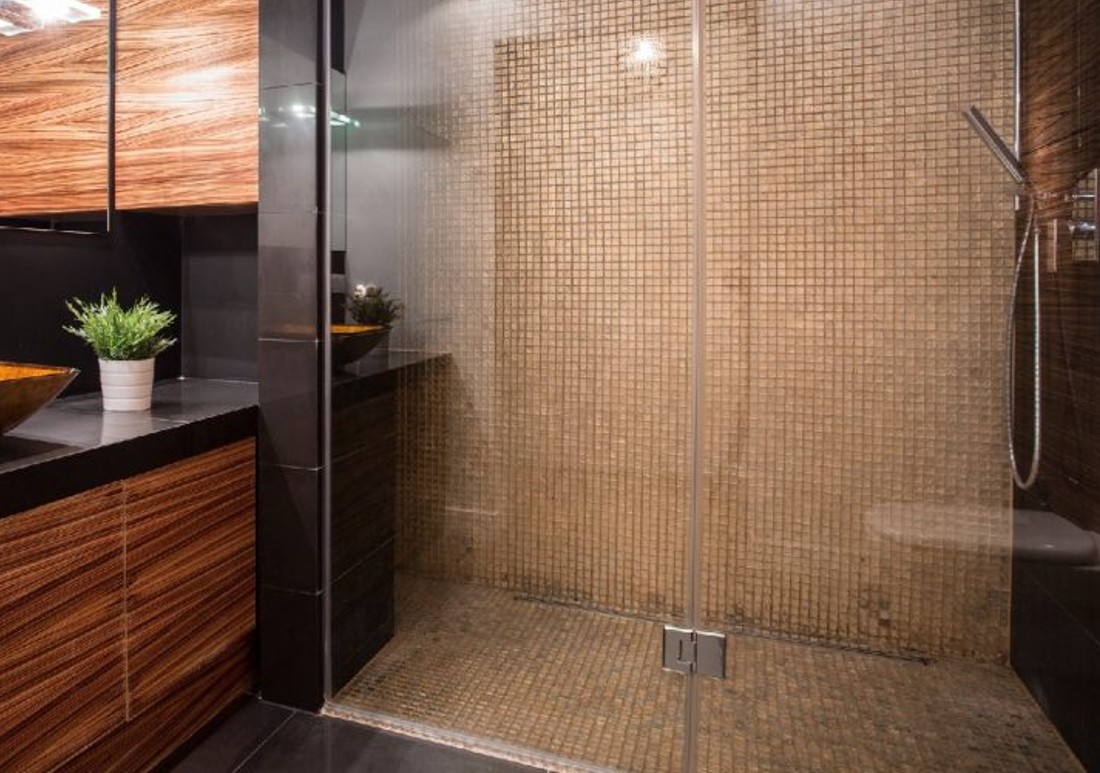
Tiling a shower is a great and fairly budget-friendly way to update the look of your bathroom and add value to your home. Although it may seem like a daunting task, tiling a shower is relatively straightforward with the right tools and some basic knowledge.
In this step-by-step guide, we will walk you through tiling a shower. From measuring the shower area properly to grouting the tiles, we will cover everything you need to know to successfully install new tiles. Once you’re finished, you can put that new shower curtain up and enjoy your newly updated bathroom!
Step 1: Prepare the Shower Area
Before you begin tiling, you need to ensure that the shower area is properly prepared. This includes removing any existing tile or backing material, cleaning the surface, and making sure that the shower area is level. If the walls are not level, you may need to use a leveling compound or install furring strips to create a flat surface.
Step 2: Measure the Shower Area
Measure the length and height of the shower area to determine how many tiles you will need. Purchase enough tile to cover the entire shower area, plus an extra 10-15% to account for waste and cuts.
Step 3: Plan Your Layout
Before you begin tiling, it’s essential to plan your layout. This includes deciding where to start and how the tiles will be arranged. Consider the size of the tiles and how they will fit in the shower area. You may also want to use tile spacers to ensure even spacing between the tiles.
Step 4: Cut the Tiles
Using a tile cutter, cut the tiles to fit the shower area. Measure each tile carefully and mark where it needs to be cut. Then, use the tile cutter to make each cut. Be sure to wear protective gloves and eyewear when cutting tiles to prevent injury and irritation.
Step 5: Apply the Tile Adhesive
Using a notched trowel, apply the tile adhesive to the shower wall. Work in small sections to prevent the adhesive from drying out before you can lay the tiles. Spread the adhesive evenly, creating a ridged surface with the notches of the trowel.
Step 6: Lay the Tiles
Starting at the bottom of the shower area, lay the tiles onto the adhesive. Use tile spacers to ensure even spacing between the tiles. Continue laying the tiles, working your way up the shower area. Use a level to ensure that the tiles are straight.
Step 7: Cut and Place the Tiles Around the Fixtures
When you reach a fixture, such as a showerhead or faucet, you will need to cut the tiles to fit around it. Measure and mark the tiles, then use a tile cutter to cut them to size. Place the tiles around the fixture, using tile spacers to ensure even spacing.
Step 8: Let the Tiles Set
After all the tiles have been laid, let them set for at least 24 hours before grouting. This will give the adhesive time to dry and ensure the tiles are firmly attached to the shower wall.
Step 9: Grout the Tiles
Mix the grout according to the manufacturer’s instructions. Using a grout float, apply the grout to the spaces between the tiles, working in small sections. Remove excess grout with a damp sponge. Let the grout dry for 24 hours.
Step 10: Seal the Tiles
After the grout has dried, seal the tiles with a tile sealer. This will help protect the tiles from water damage and stains. Apply the sealer according to the manufacturer’s instructions, and let it dry completely before using the shower.
Conclusion
Tiling a shower is a great way to update the look of your bathroom and add value to your home. By following these step-by-step instructions, you can tile your shower with confidence and achieve a beautiful and functional result. Whether you’re a DIY enthusiast or a professional contractor, tiling a shower is a rewarding and fairly straightforward project that can transform your bathroom into a stylish and functional space.