How To Install Board and Batten Wall Paneling in Your Laundry Room

Instagram: @thecreativemom
If you’ve ever wanted to transform your laundry room into a more inviting and stylish space without breaking the bank, then you’re in for a treat. Taking on a DIY project like adding half board and batten wall paneling is not only a fun way to spend a weekend but also a fantastic way to upgrade your space with a touch of farmhouse charm.
I recently took the plunge and revamped my small laundry room, and I can confidently say it’s one of the best home improvements I’ve done. Not only does it look amazing, but it also doesn’t take much time or money.

A laundry room makeover might sound intimidating but don’t worry. With a little planning and a few simple tools, you can completely transform the space. The best part? You can customize it to suit your style. In my case, I chose a classic half board and batten design for the lower half of the walls and paired it with a lovely floral wallpaper on the upper half.
Planning Your Paneling
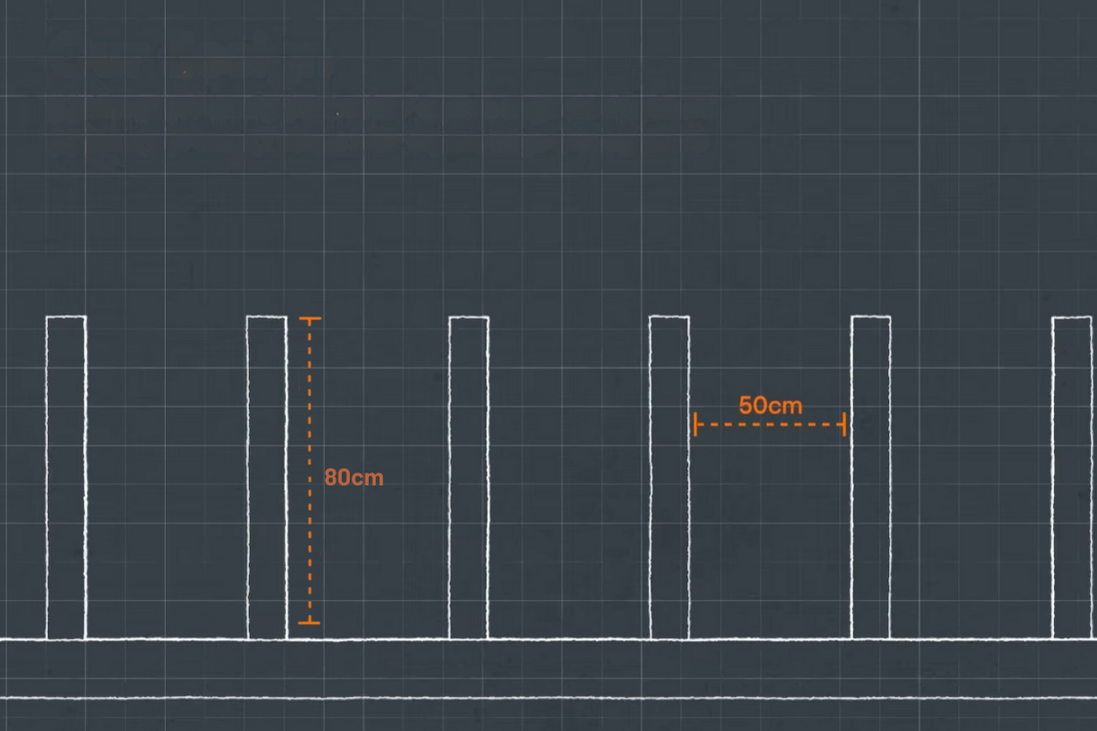
Before you begin, take a moment to plan out your design. The first step is to measure your walls and decide how high you want the paneling to go. I opted for the halfway point, which is typically around 80cm from the bottom panel.
This height is perfect for creating a balanced look, especially in a smaller space like a laundry room. Next, consider the style of your paneling. The board and batten style is classic and straightforward, consisting of vertical battens placed over flat boards, creating a grid-like pattern. Decide how far apart you want the battens to be. I chose 50cm apart, which gives a clean, even look.

Once you have your measurements and design in mind, it’s time to gather your materials. You’ll need MDF or plywood boards for the battens and top rail, a level, a saw, construction adhesive, and finishing nails. Make sure to wear safety goggles and gloves when cutting the wood to protect yourself. Having everything ready before you start will make the process much smoother.
Removing the Existing Skirting Board
If you’re planning to install half board and batten wall paneling, the first step involves removing the existing skirting board. This step is optional because I have seen a lot of people using the skirting board as the base panel to avoid the hassle of removing the skirting board, especially if you’re renovating a rented home.
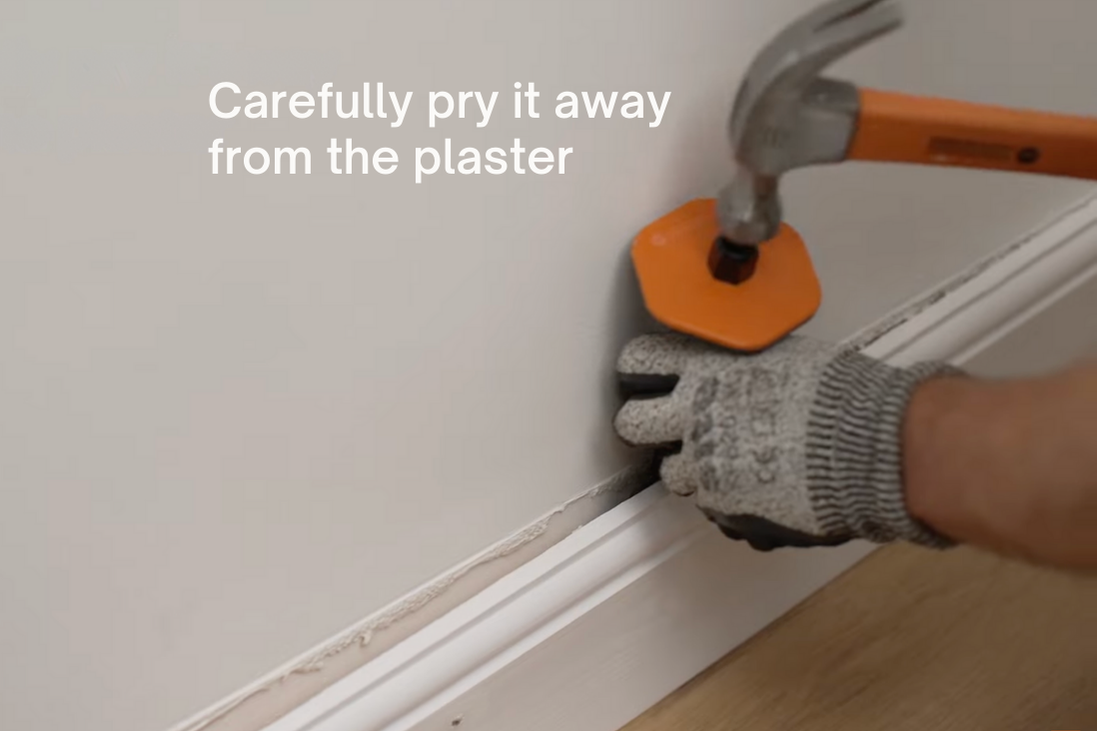
In older homes, skirting boards are often attached to the wall with long nails driven into timber wedges set within the brickwork or stonework, or they may be held by recessed screws. Using a junior hacksaw or just a hacksaw blade might be necessary to saw through these metal fixings, as pulling out the nails or screws could damage the underlying wall.
Start by running a sharp utility knife along the top edge of the skirting board where it meets the wall. This step breaks the paint seal between the skirting and the wall, preventing any plaster from peeling off and causing damage when you remove the skirting.
Next, place a chisel vertically between the top rear edge of the skirting board and the wall, and gently hammer the chisel downward to start separating the two materials. Work your way from one end of the skirting to the other to create a gap along the top edge. This gap allows you to see where the nails or screws attach the skirting to the wall.
Once you’ve identified these points, use a pry bar in the gap near the fixing nails to gently lever the skirting away from the wall. To reduce the risk of damaging the wall, place a piece of timber between the pry bar and the wall if there is enough space.
Trimming the Skirting Board for Paneling
With the old skirting board removed, you may need to trim the skirting board on adjoining walls to accommodate the new paneling. This is applicable if you’re only paneling a single wall.
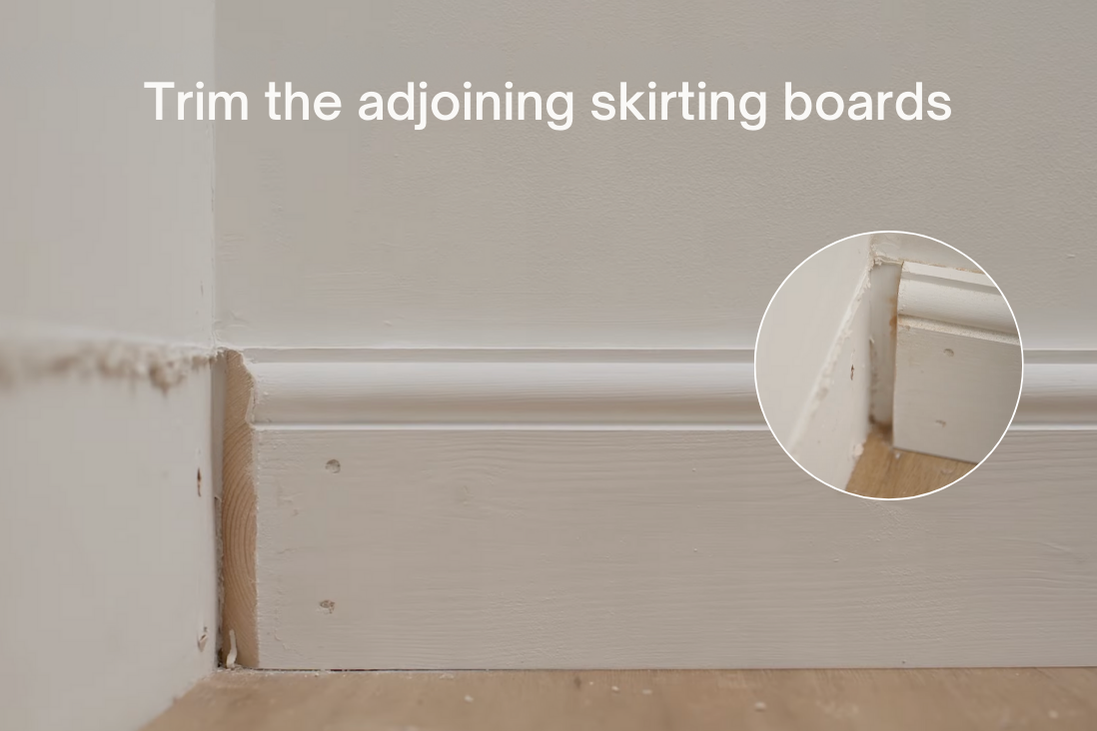
Begin by marking the section of skirting that needs to be removed with a pencil or pen. Ensure the lines are perfectly vertical by using a spirit level to guide you as you mark.
For this task, a multitool is particularly useful. Although many DIYers might not have one, it’s a tool that makes cutting sections out of skirting boards, as well as working in confined spaces, much easier.
Position the multitool blade along the lines you’ve marked, and use it to cut cleanly into the skirting board. Now, use the same chisel-and-hammer method to pry the piece of skirting board you just cut out from the wall.
Installing the Paneling
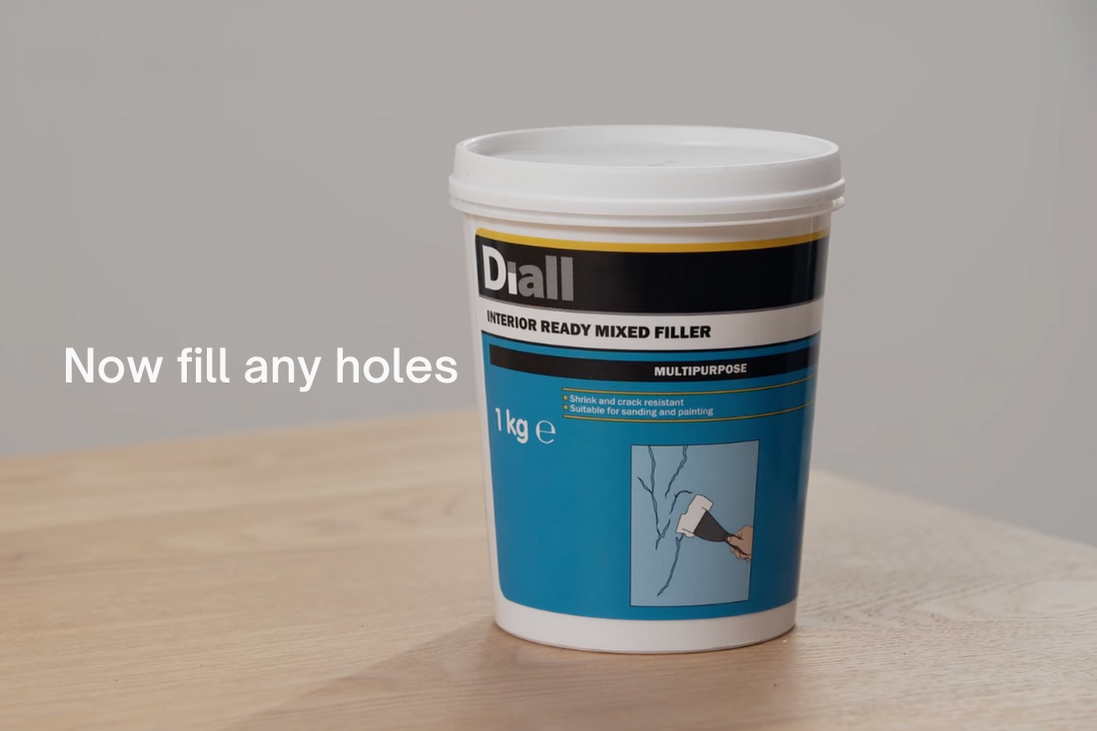
Now that you’re all set, it’s time to start installing the paneling. Begin by preparing your walls with wall filler to address any holes or cracks, creating a smooth surface for the paneling.
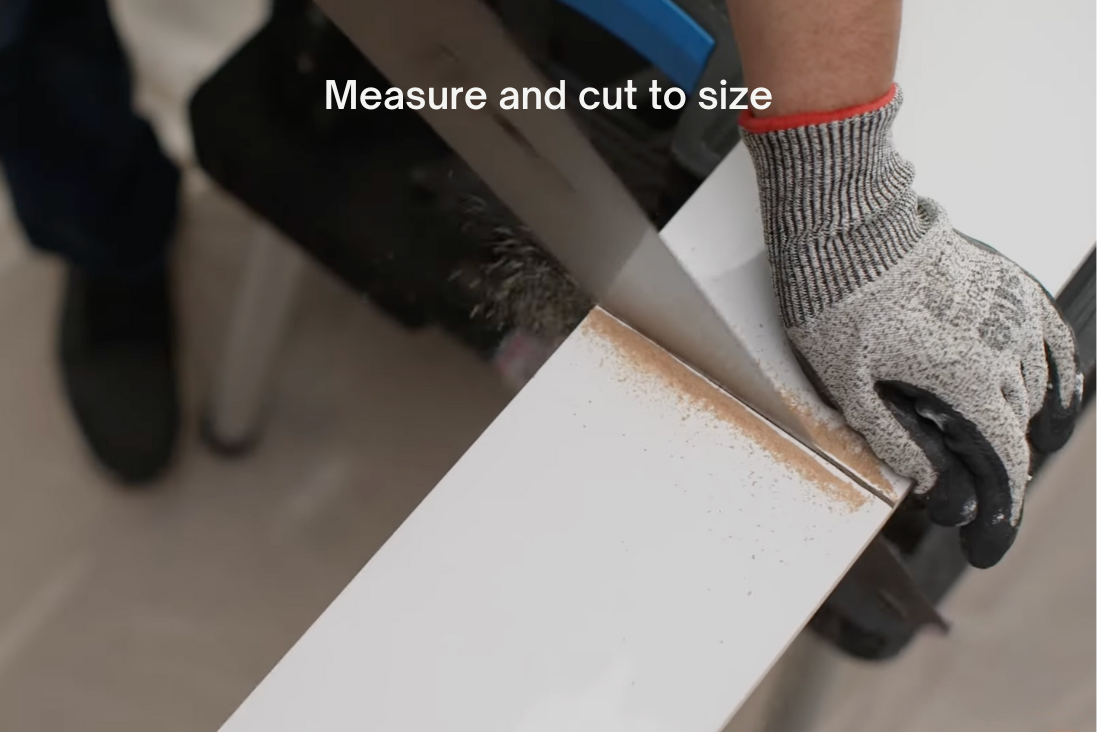
Measure and cut your panels, sanding the edges to achieve a clean finish.
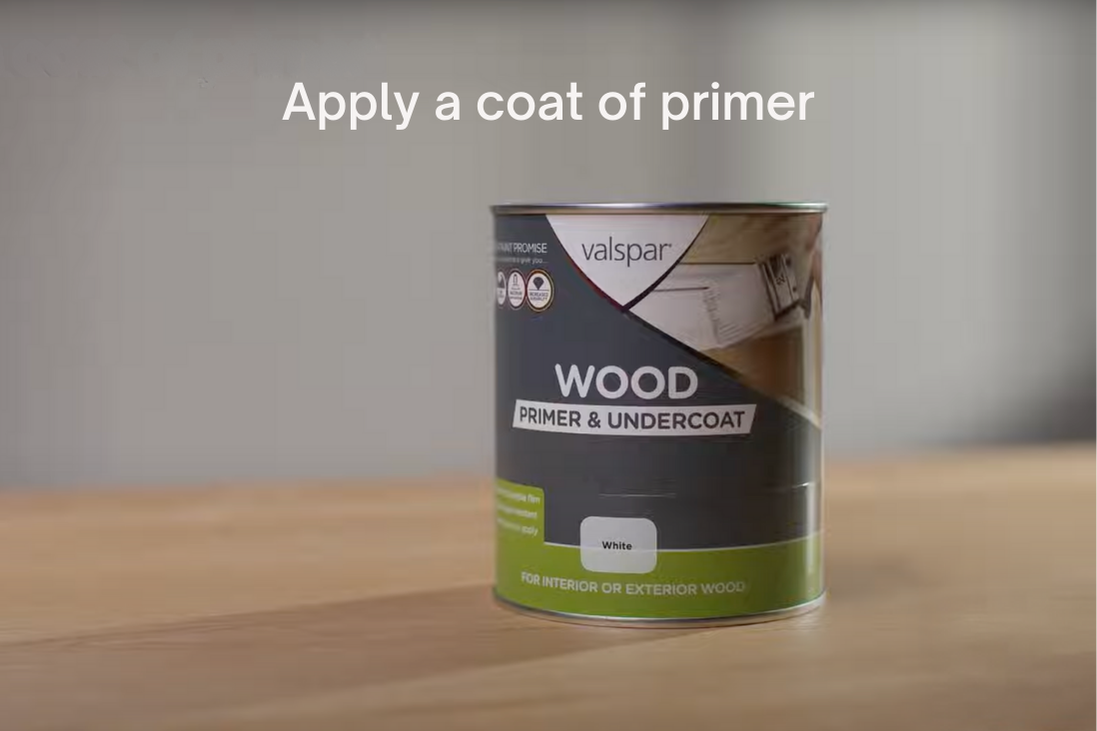
If you’re using primed MDF skirting boards, you can skip the priming step; otherwise, apply a primer to ensure even coverage and adhesion.
Before attaching the panels, paint them with a base coat and allow them to dry thoroughly. This pre-painting step helps ensure an even finish once the panels are installed.
Start by gluing the bottom piece to the wall using construction adhesive, as it’s easier to work from the bottom up. Next, place the vertical battens, measuring the gaps between them to ensure they are equally spaced for a uniform look.
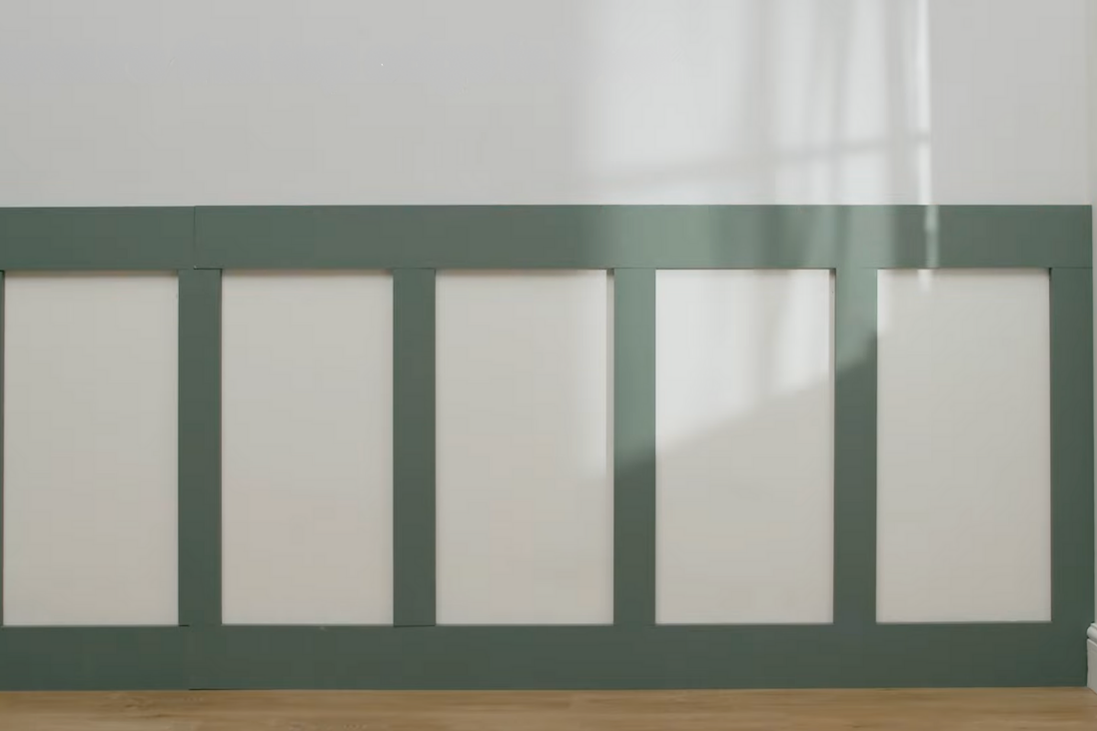
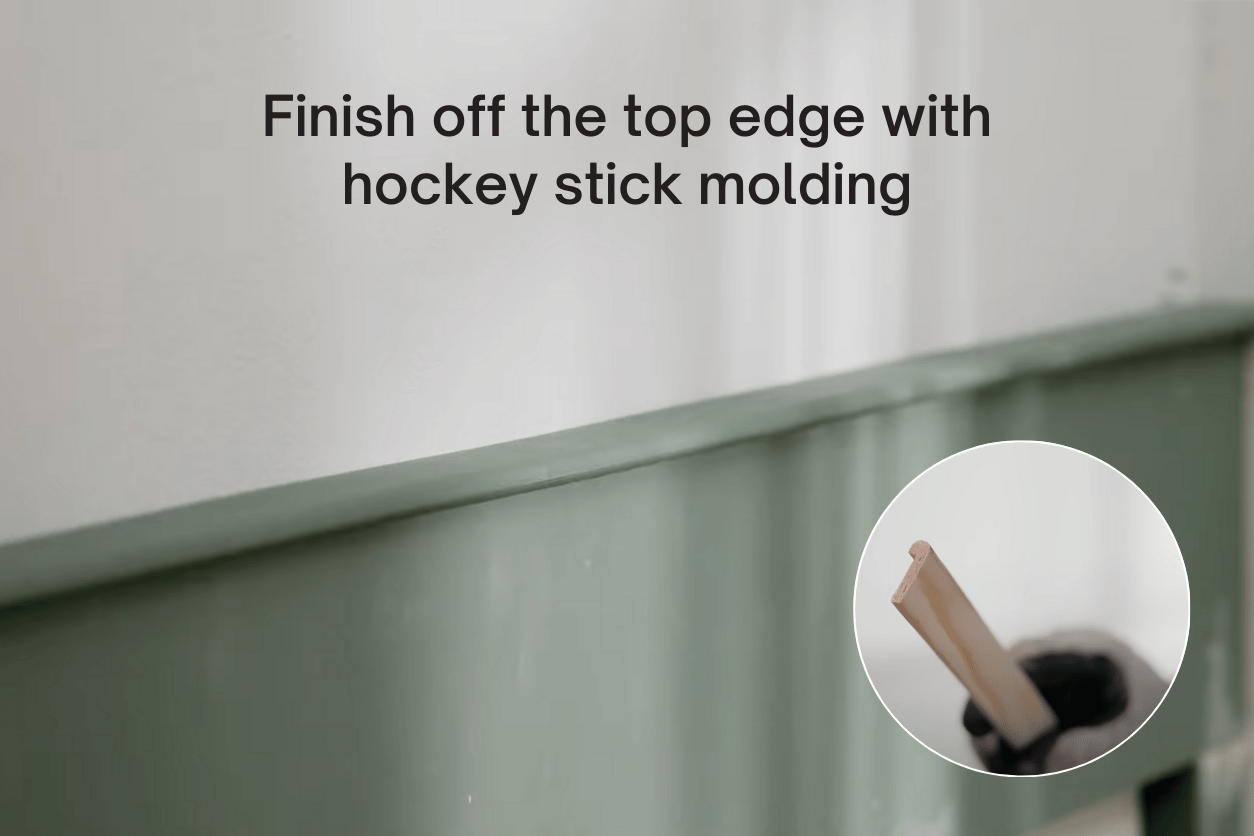
Now, finish off the top edge with a hockey stick molding just to give your wall extra dimension! I went with a thin one for my laundry room, but I’ve seen people do wider molding that acts like a shelf for decor pieces to accessorize the wall.
Adding Finishing Touches
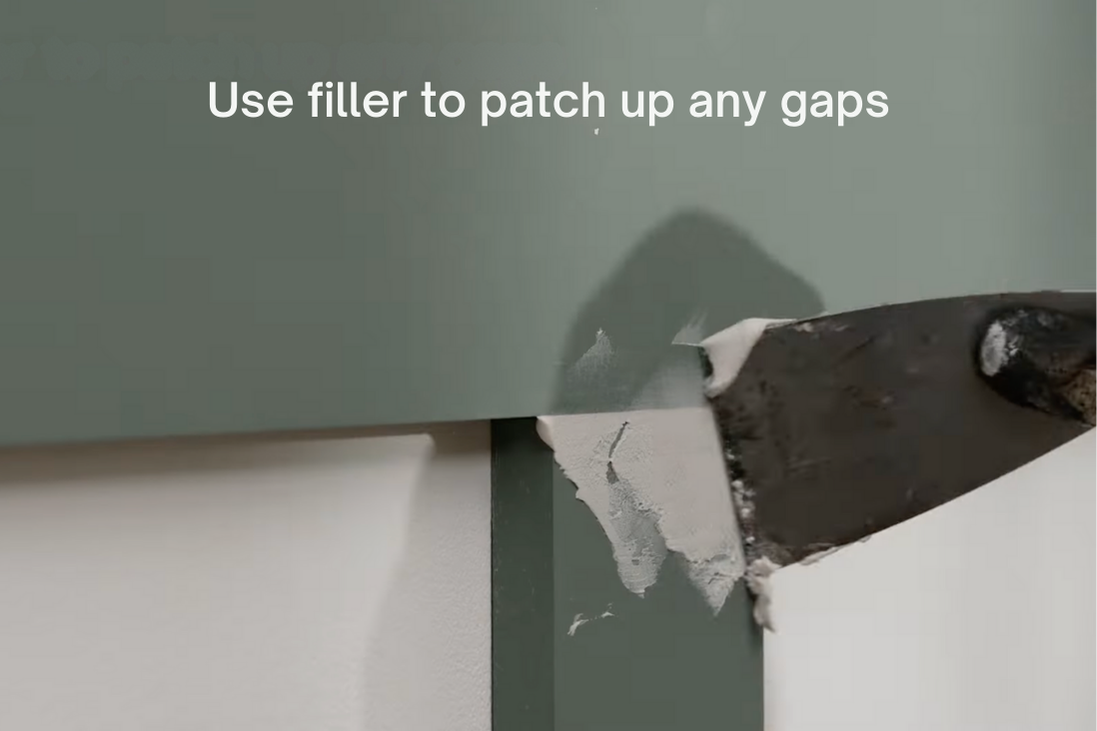
Once all the battens are installed, it’s time to caulk any gaps and fill in the nail holes with wood filler. This step will give your paneling a seamless, professional look.
After the caulk and filler have dried, sand any rough areas until smooth. Now, you’re ready to paint. Choose a color that complements your chosen wallpaper and overall design. I went with a deep blue that contrasts beautifully against the lighter wallpaper on the upper half of the wall.
With the paneling complete, you can move on to the fun part: decorating. I chose a floral wallpaper for the upper half of the wall, which adds a lovely touch of color and pattern to the room. To maximize storage, I installed a couple of rustic floating wooden shelves above the washer and dryer.
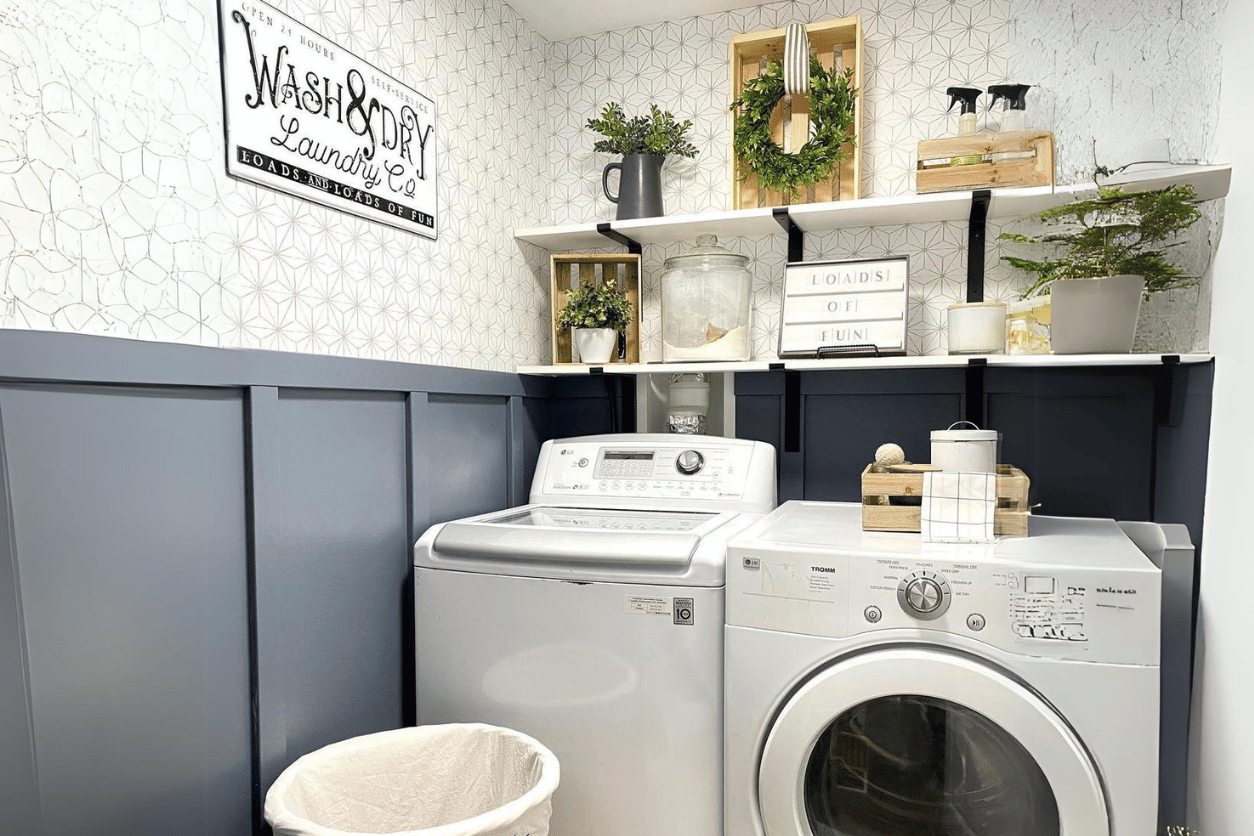
These shelves are perfect for holding laundry accessories like detergent, fabric softener, and decorative items. To finish the look, I added a cute laundry room sign and farmhouse-style hanging lights, providing both function and charm.