Best Places to Install a Split AC Unit for Optimal Cooling
Installing a split air conditioning unit in the right location is crucial for maximizing cooling efficiency and ensuring uniform airflow throughout the space. A poorly placed unit can result in uneven cooling, wasted energy, and discomfort, while a strategic location can enhance both performance and energy savings. This guide explores the best places to install a split AC unit to achieve optimal cooling in your home or office.
Why Location Matters for Split AC Units
The performance of a split AC unit heavily depends on where it is installed. The indoor unit must effectively distribute cool air across the room, while the outdoor unit needs to dissipate heat efficiently. Placing these units in the wrong spots can lead to frequent cycling, uneven cooling, and increased energy consumption. Proper placement ensures consistent temperature control, reduces strain on the system, and enhances comfort.
Choosing the Right Location for the Indoor Unit
The indoor unit of a split AC is responsible for circulating cool air into the room. Here are key considerations for selecting the best location:
Central Wall Placement
Placing the indoor unit on a central wall ensures that cool air is distributed evenly throughout the room. Avoid corners or locations where airflow might be obstructed by furniture, curtains, or structural elements. For larger spaces, positioning the unit where it can cover the majority of the room without obstruction is ideal.
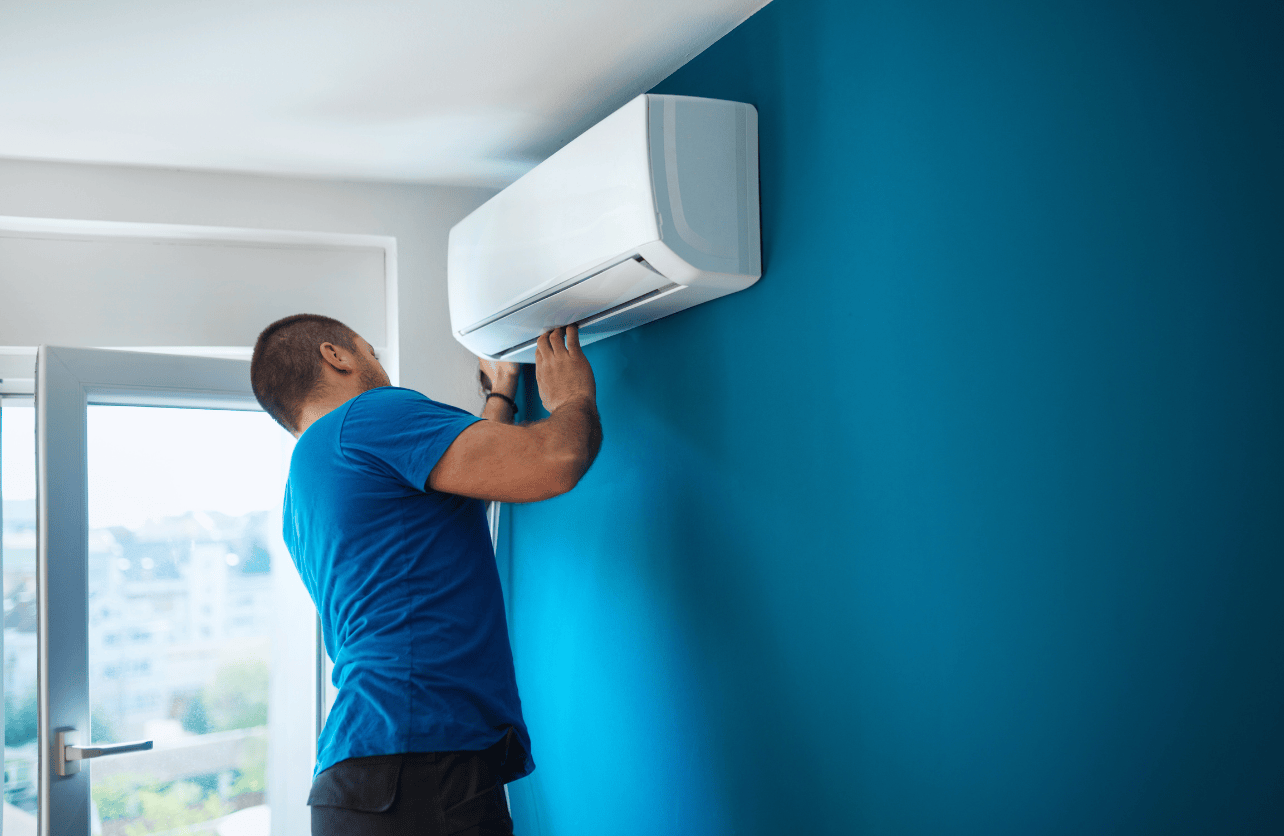
Optimal Height
Installing the unit at the right height is essential for effective cooling. The recommended height for the indoor unit is 7-8 feet from the floor, as cool air naturally sinks while warm air rises. This height ensures that the cool air spreads evenly before settling.
Away from Heat Sources
Avoid installing the unit near heat-generating appliances, direct sunlight, or walls exposed to external heat. These factors can force the unit to work harder, reducing efficiency and increasing energy consumption.
Clear Pathway for Airflow
Ensure there are no obstacles in front of the unit, such as bookshelves, tall furniture, or decorative elements. A clear pathway allows the unit to distribute air freely across the room. Ideally, the unit should face the main seating or activity area to provide direct cooling.
Distance from Doors and Windows
Placing the unit near frequently opened doors or windows can lead to air leakage, causing the unit to overwork. Choose a wall away from these areas to maintain a consistent temperature.
Choosing the Right Location for the Outdoor Unit
The outdoor unit is equally important as it houses the compressor and dissipates heat absorbed from the indoor unit. Proper placement of the outdoor unit ensures efficient heat exchange and the system’s longevity.
Ventilated Area
Install the outdoor unit in a well-ventilated area to allow proper airflow around the condenser. Avoid cramped spaces, as restricted airflow can lead to overheating and reduced efficiency.
Shaded Location
To prevent the outdoor unit from overheating, choose a shaded area or install a protective cover. Direct sunlight can strain the compressor, leading to higher energy usage and potential damage.
Secure and Stable Surface
The outdoor unit should be placed on a firm, level surface to minimize vibration and noise. Mounting it on an unstable surface can cause the compressor to wear out over time.
Accessible for Maintenance
Ensure the unit is installed in an area easily accessible for regular maintenance and repairs. Avoid placing it in difficult-to-reach locations, such as tight corners or high elevations without adequate support.
Distance from Indoor Unit
Minimize the distance between the indoor and outdoor units to reduce the length of refrigerant piping and electrical wiring. This helps maintain system efficiency and reduces installation costs.
Additional Tips for Optimal Cooling
- Use Professional Installation Services
Split AC installation involves precise measurements and alignment. Hiring a certified technician ensures that the unit is installed correctly and functions at peak efficiency. - Ensure Proper Insulation
Rooms with poor insulation can lose cool air quickly. Consider sealing gaps around windows and doors and using curtains or blinds to enhance the system’s effectiveness. - Avoid Overcrowding the Room
A cluttered room can block airflow and reduce the unit’s cooling efficiency. Rearrange furniture to ensure the air circulates freely. - Regular Maintenance
Routine cleaning of filters, coils, and vents improves airflow and ensures the unit operates efficiently. Schedule regular maintenance to avoid issues related to dirt buildup or wear and tear.
Common Mistakes to Avoid
- Installing Too Low or Too High: Placing the indoor unit too close to the ceiling or too low to the ground can hinder airflow and lead to uneven cooling.
- Ignoring Outdoor Unit Clearance: Ensure there are at least 12-24 inches of clearance around the outdoor unit to allow proper heat dissipation.
- Long Refrigerant Piping: Excessive piping between the indoor and outdoor units can reduce efficiency and increase the risk of refrigerant leaks.
- Neglecting Noise Levels: Avoid installing the outdoor unit near bedrooms or living areas where noise could disrupt comfort.
Summing Up
The placement of a split AC unit plays a vital role in ensuring optimal cooling and energy efficiency. By carefully selecting the location of both the indoor and outdoor units, you can achieve consistent temperature control, lower energy bills, and enhanced comfort.
Whether you’re installing a new system or relocating an existing one, following these guidelines can help you get the most out of your split AC unit. For best results, always consult with a professional technician to ensure proper installation and maximize the system’s performance.