How to Install Solar Panels on Your Roof: A Step-by-Step Guide
Installing solar panels on your roof is an excellent way to reduce your energy bills and decrease your carbon footprint. While professional installation is common, taking the DIY route can be a rewarding project if you’re handy and have a good understanding of electrical systems. This comprehensive guide will walk you through the steps to safely and effectively install solar panels on your roof.
Disclaimer: Installing solar panels involves working with electricity and at heights. If you’re not experienced with electrical work or are uncomfortable with heights, it’s recommended to hire a professional installer. Always comply with local building codes and regulations, and obtain necessary permits before starting your project.
Assessing Feasibility
Evaluate Your Roof’s Suitability
- Roof Condition: Ensure your roof is in good condition and can support the weight of solar panels.
- Orientation and Tilt: South-facing roofs with a tilt between 15 to 40 degrees are ideal in the Northern Hemisphere.
- Shading: Check for any obstructions, like trees or buildings, that may cast shadows on your roof.
- Available Space: Calculate the area needed based on the number of panels.
Check Local Regulations and Obtain Permits
- Building Codes: Review local building and electrical codes.
- Permits: Obtain necessary permits for installation and grid connection.
- Homeowner’s Association (HOA): If applicable, get approval from your HOA.
Planning Your Solar System
Calculate Your Energy Needs
- Review Electricity Bills: Determine your average monthly kWh usage.
- System Size: Decide on the system size based on your energy goals (partial or full offset).
Choose the Right Solar Panels
- Types of Panels:
- Monocrystalline: Higher efficiency, more expensive.
- Polycrystalline: Lower efficiency, more affordable.
- Efficiency Ratings: Higher efficiency panels produce more power in less space.
Select an Inverter
- String Inverters: Connect all panels to a single inverter.
- Microinverters: Installed on each panel for optimized performance.
- Power Optimizers: Combine features of both string inverters and microinverters.
Decide on a Mounting System
- Roof-Mounted Racks: Fixed racks attached to your roof.
- Flush Mounts: Panels installed parallel to the roof surface.
- Tilt Mounts: Adjust the angle of panels for optimal sun exposure.
Gathering Necessary Tools and Materials
Tools
- Drill with appropriate bits
- Wrenches and screwdrivers
- Measuring tape
- Chalk line
- Stud finder
- Ladder or scaffolding
- Safety harness and equipment
- Multimeter (for electrical testing)
Materials
- Solar panels
- Mounting hardware (rails, brackets, bolts)
- Wiring (solar cables, connectors)
- Inverter(s)
- Grounding equipment
- Junction boxes
- Conduit
- Roof sealant
Installing the Mounting System
Safety First
- Wear appropriate safety gear, including a hard hat, gloves, and a safety harness.
- Ensure the ladder or scaffolding is secure.
Locate Roof Rafters
- Use a stud finder to locate rafters for secure attachment.
- Mark rafter locations with chalk.
Install Flashing
- Lift roof shingles and slide flashing underneath to prevent leaks.
- Apply roof sealant around the penetration points.
Attach Mounting Brackets
- Secure brackets to rafters through the flashing using lag bolts.
- Ensure all brackets are aligned and level.
Install Rails
- Attach mounting rails to the brackets.
- Check that rails are parallel and properly spaced according to panel specifications.
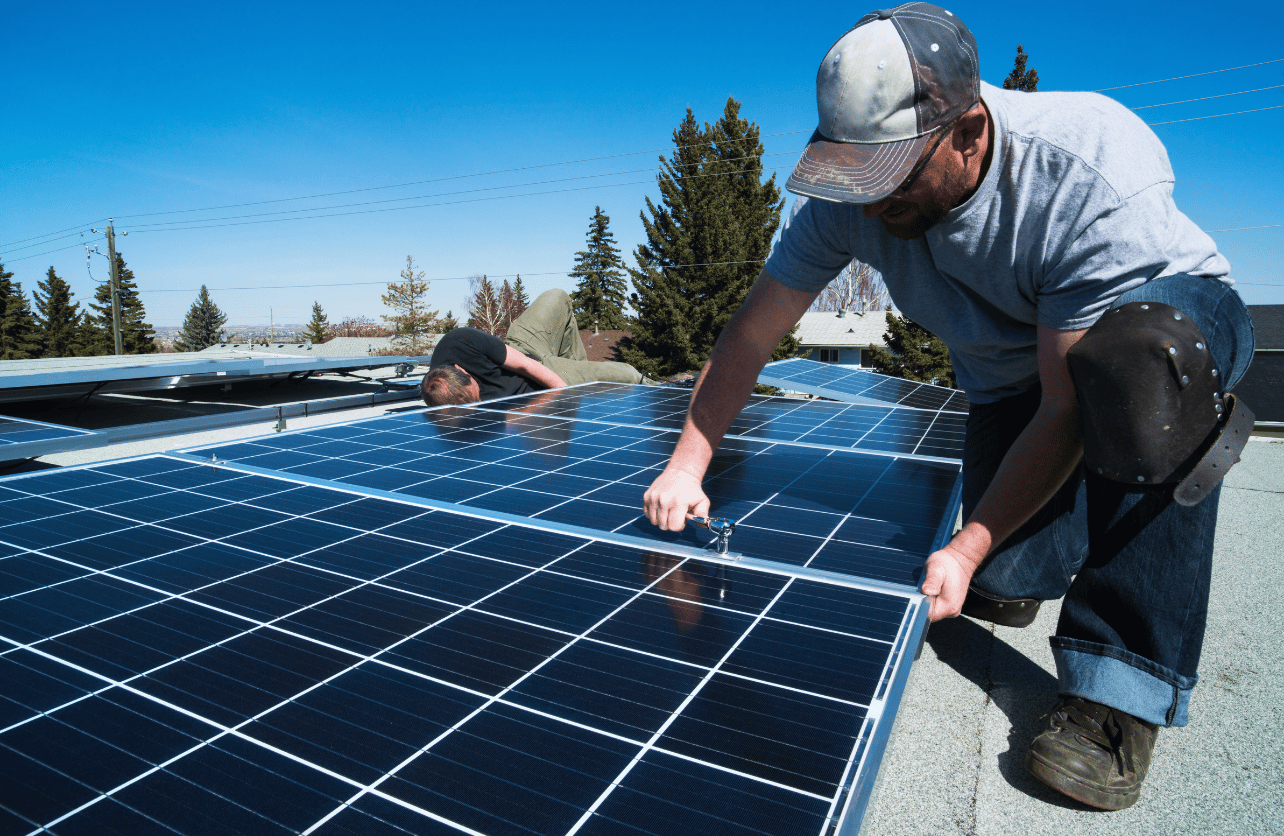
Installing the Solar Panels
Position the Panels
- Lift panels onto the roof carefully.
- Place panels on the rails, starting from one end.
Secure the Panels
- Use clamps and bolts to attach panels to the rails.
- Ensure each panel is firmly secured and aligned.
Maintain Proper Spacing
- Follow manufacturer guidelines for spacing between panels to allow for thermal expansion.
Wiring the System
Connect Panels in Series or Parallel
- Series Connection: Increases voltage; connect the positive terminal of one panel to the negative of the next.
- Parallel Connection: Increases current; connect positive terminals together and negative terminals together.
Use Proper Connectors
- Use MC4 connectors or those specified by the panel manufacturer.
- Ensure all connections are tight and secure.
Route the Wiring
- Use cable clips or ties to secure wires to the rails.
- Avoid wires touching the roof surface.
Connecting to the Inverter
Mount the Inverter
- Install the inverter close to your main service panel, preferably in a shaded, ventilated area.
Connect the DC Wiring
- Run the DC cables from the panels to the inverter.
- Use conduit to protect wiring as required by code.
Connect the Inverter to the Electrical Panel
- AC Connection: Connect the inverter output to your home’s main service panel using appropriate breakers.
- Utility Meter: Install a bi-directional meter if required for net metering.
Follow Electrical Codes
- Ensure all wiring and connections comply with local electrical codes.
- Consider hiring a licensed electrician for this step.
Grounding the System
Install Grounding Equipment
- Ground the mounting system and panels using grounding lugs and copper wire.
- Connect the system ground to the house grounding system.
Lightning Protection
- Consider installing surge protection devices to safeguard against lightning strikes.
Final Connections and Testing
Check All Connections
- Verify that all electrical connections are secure.
- Ensure there are no exposed wires.
Test the System
- Use a multimeter to check voltage and continuity.
- Confirm that the system is producing DC power.
Power On the Inverter
- Follow the manufacturer’s instructions to start up the inverter.
- Monitor the inverter display for any error messages.
Inspection and Activation
Schedule an Inspection
- Contact your local building department to schedule an inspection.
- Provide documentation as required.
Utility Company Approval
- Submit necessary paperwork to your utility company.
- Wait for approval before connecting to the grid.
Activate the System
- Once approved, switch on the system.
- Begin monitoring energy production.
Maintenance Tips
- Regular Cleaning: Keep panels clean from dust and debris for optimal performance.
- Visual Inspections: Check for loose connections or damage periodically.
- Monitor Performance: Use monitoring software to track energy production.
Conclusion
Installing solar panels on your roof can be a fulfilling DIY project that leads to long-term savings and environmental benefits. By following this step-by-step guide and adhering to safety precautions and local regulations, you can successfully install a solar power system in your home. Remember, when in doubt, consult with or hire a professional to ensure the safety and efficiency of your installation.